Hematology Program Modules
Instructions: BC Specimens
(231 Blood Cell Identification) Cell ID Result Codes
(230 Blood Cell Identification- Add-On)
1. REQUIRED. Identify the designated cells or structures in the five “BC-” photographs. The stain and magnification are listed below the photographs.
2. The “ED-“ photograph is an OPTIONAL ungraded educational challenge representing more difficult cells or features. No credit or flagging is given. The result will merely be summarized with expert commentary.
3. The “Directed/Guided” and “Free Form” Manual Differentials are ungraded educational challenges. Not reported to CMS.
A). Print the worksheet above, found under Instructions & Links.
B). Choose Directed/Guided or Free Form differential, then click on a link to open one of the 2 digital slide specimens.
NOTE: In general, the 25-cell Directed/Guided Differential is best for Moderate Complexity laboratories who report only normal manual differential findings (i.e., abnormal cells would typically be reported as abnormal, would refer), whereas the 100-cell Free Form Differential is best for High Complexity laboratories who report abnormal results. You are free to do for either one or both manual diffs, and they may be used for educational purposes by all laboratory staff after the event submission deadline.
C). Click on the Help icon (?) to open the chart of icon tools and functions.
D). Zoom in and out of the slide using the navigation tool at the bottom. Use the directional arrows in the tool to move the slide or click and drag the slide in the direction you want.
E). Perform the manual differential.
For the Directed/Guided Differential, you will be guided through a 25-cell differential. Click the cell # under Regions of Interest on the left, then click and drag the picture of the cell to the appropriate cell type “bucket” on the right.
For the Free Form Differential, you will perform a 100-cell diff by scanning the virtual slide in the same manner as you would a glass slide under a microscope. Click on the Cell Differential icon  to open the diff tally. The tally includes 10 cell types to be included in the diff count, plus nRBC will be recorded but not included in the count. Each cell type is represented by a key map that appears under the cell types. The position of the keys are similar to where they are on a diff counter. Press the corresponding key on your computer keyboard to record that cell. Reportresults as percentage based on the output of the virtual diff tally. We recommend using the basic differential groupings as taken from CLSI Standard H20-A2
F). Write down the DigitalScope tally results onto your worksheet including zeros, then manually enter your differential results including zeros into the online reporting form.
Please note that if a certain cell type is counted on one slide, but not the other, you must enter 0 for the one not counted. If you leave it blank the system will count it as incorrect.
It is okay to leave both fields blank when none are counted on either slide.
Directed/Guided Differential (Online reporting lines 3 – 8)
Free Form Differential (Online reporting lines 9 – 20)
Free Form Differential Example
Instructions : HD Specimens
(225 Hematology with 3-part diff)
NOTE: These PT samples do not look like fresh patient blood. Moderately colored supernatant is normal and should not be confused with deterioration of this product. However, discoloration or a darkly colored (black) supernatant is an indication of gross hemolysis.
1. Remove the vials from the refrigerator and warm to room temperature (15-30°C) for 15 minutes before mixing.
2. To mix, hold a vial horizontally between the palm of the hands. DO NOT USE A MECHANICAL MIXER.
• Roll the vial back and forth for 20-30 seconds; occasionally invert the vial. Mix vigorously but do not shake.
• Continue to mix in this manner until the red blood cells are completely suspended.
• Gently invert the vial 10 times immediately before sampling.
3. The vials are suitable for sampling cap-piercing instruments or remove the cap and aspirate directly from the vial. Test the sample in the same
manner as you would test a patient sample.
NOTE: Boule (CDS) Medonic CA 620 instrument ONLY: Users must run these samples in the control mode. Be sure to use the ID
number of 888+ for proficiency testing samples.
4. After sampling, return the vials to the refrigerator within 30 minutes. The specimens are stable for 7 days after they are opened.
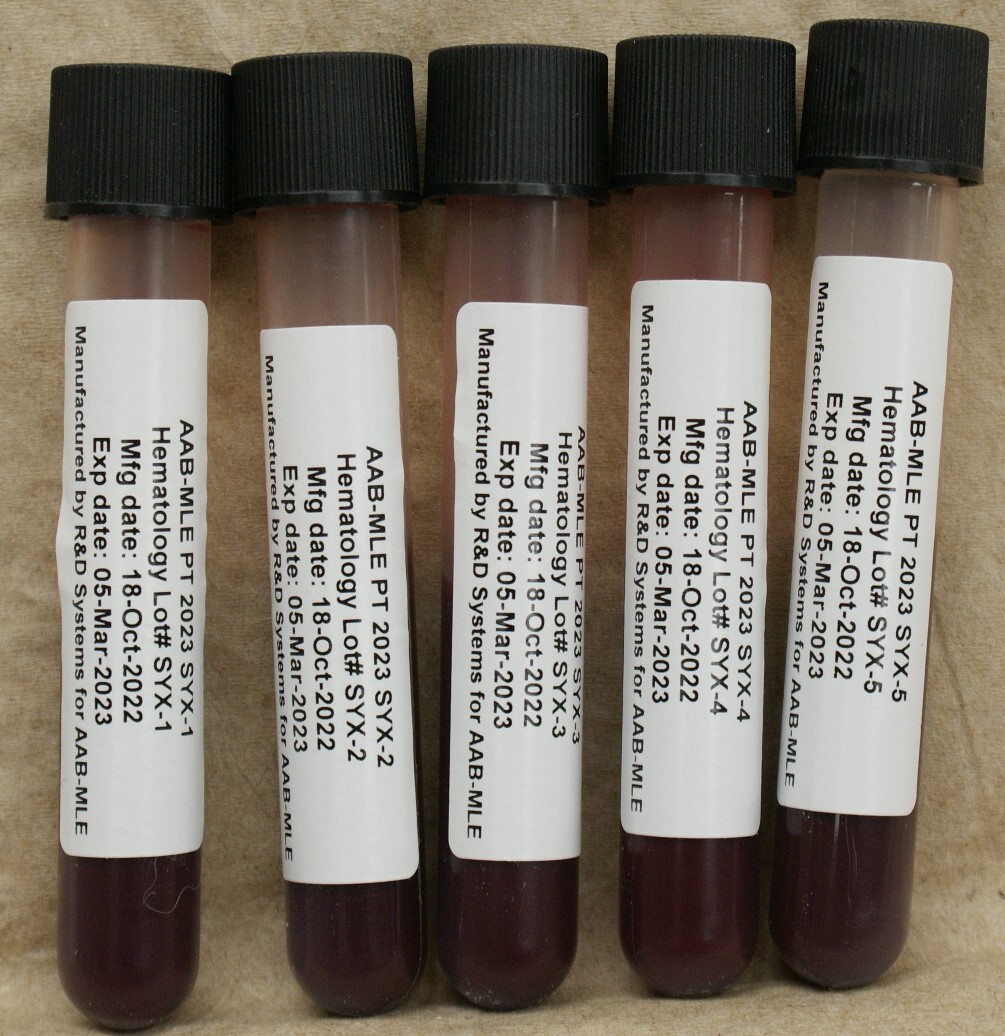
Instructions: SYX Specimens
(224 Hematology – Sysmex 3-part diff)
NOTE: These PT samples should resemble fresh whole blood. A slightly pink supernatant is normal and should not be confused
with deterioration of this product; however, discoloration or a darkly colored (black) supernatant is an indication of gross
hemolysis.
1. Remove vials from the refrigerator and warm to room temperature (15-30°C) for 15 minutes before mixing.
2. To mix, hold a vial horizontally between the palms of the hands. DO NOT USE A MECHANICAL MIXER.
• Roll the vial back and forth for 20-30 seconds; occasionally invert the vial. Mix vigorously but do not shake.
• Continue to mix in this manner until the red blood cells are completely suspended.
• Gently invert the vial 10 times immediately before sampling.
3. Test the sample in the same manner as you would test a patient sample.
NOTE: Flags are likely to accompany the differential results when proficiency specimens are tested in the patient mode.
Although these flags may trigger manual differential review on a patient sample, ignore the differential flags and
report the automated instrument differential.
4. After sampling, return the vials to the refrigerator within 30 minutes. The specimens are stable for 7 days after they are opened.
IMPORTANT: Report Automated Differential results as a percentage and to one decimal point (i.e., tenths).
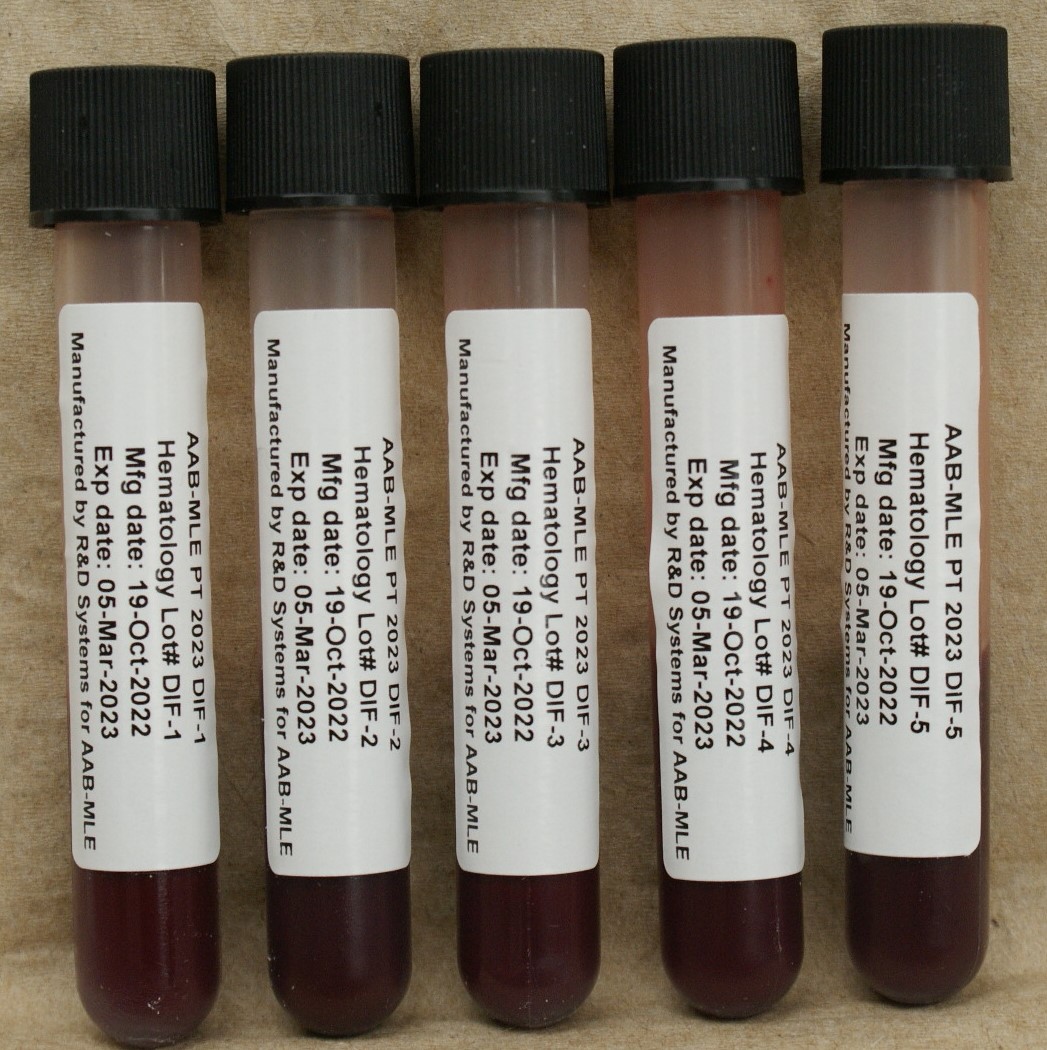
Instructions: DIF Specimens
(226 Hematology with 5-part Diff)
NOTE: These PT samples should resemble fresh whole blood. A slightly pink supernatant is normal and should not be confused with
deterioration of this product; however, discoloration or a darkly colored (black) supernatant is an indication of gross hemolysis.
1. Remove vials from the refrigerator and warm to room temperature (15-30°C) for 15 minutes before mixing.
2. To mix, hold a vial horizontally between the palms of the hands. DO NOT USE A MECHANICAL MIXER.
• Roll the vial back and forth for 20-30 seconds; occasionally invert the vial. Mix vigorously but do not shake.
• Continue to mix in this manner until the red blood cells are completely suspended.
• Gently invert the vial 10 times immediately before sampling.
3. Test the sample in the same manner as you would test a patient sample. Mindray Instruments ONLY: Users must run these samples in the
control mode.
NOTE: Flags are likely to accompany the differential results when proficiency specimens are tested in the patient mode.
Although these flags may trigger manual differential review on a patient sample, ignore the differential flags and
report the automated instrument differential.
4. After sampling, return the vials to the refrigerator within 30 minutes. The specimens are stable for 7 days after they are opened.
IMPORTANT: Report Automated Differential results as a percentage and to one decimal point (i.e., tenths).
Instructions: CL Specimens
(223 Hematology 5-part diff – Abbott Cell-Dyn)
NOTE: These PT samples should resemble fresh whole blood. A slightly pink supernatant is normal and should not be confused with
deterioration of this product; however, discoloration or a darkly colored (black) supernatant is an indication of gross
hemolysis.
1. Remove vials from the refrigerator and warm to room temperature (15-30°C) for 15 minutes before mixing.
2. To mix, hold a vial horizontally between the palms of the hands. DO NOT USE A MECHANICAL MIXER.
• Roll the vial back and forth for 20-30 seconds; occasionally invert the vial. Mix vigorously but do not shake.
• Continue to mix in this manner until the red blood cells are completely suspended.
• Gently invert the vial 10 times immediately before sampling.
3. The vials are suitable for sampling by cap-piercing instruments or remove the cap and aspirate directly from the vial.
4. These samples MUST be tested in the same manner as quality control material . Failure to do so may produce invalid results.
5. After sampling, return the vials to the refrigerator within 30 minutes. The specimens are stable for 7 days after they are opened.
Note: K/μL = 109/L; M/μL = 1012/L
IMPORTANT: Report Automated Differential results as a percentage and to one decimal point (i.e., tenths).

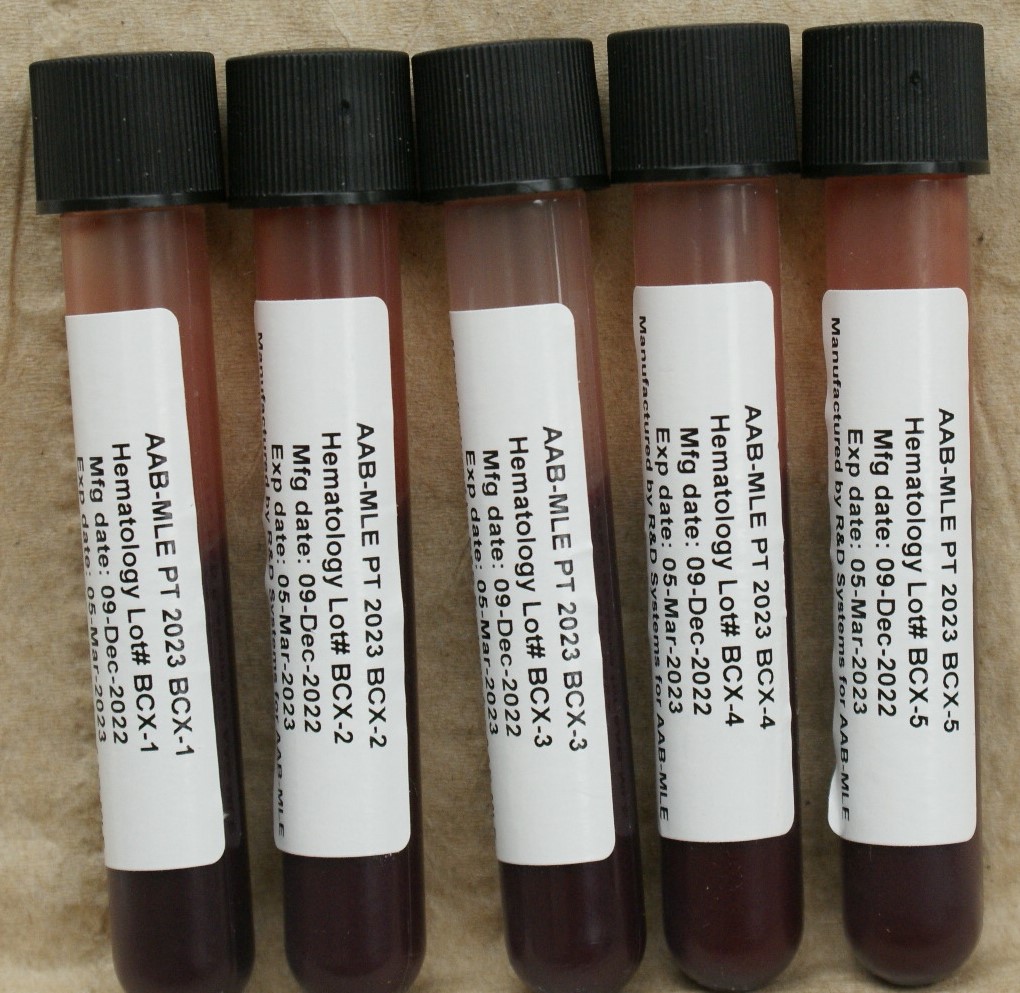
Instructions: BCX Specimens
(228 Hematology with 5-part diff – AcT 5 and Pentra)
NOTE: These PT samples should resemble fresh whole blood. A slightly pink supernatant is normal and should not be confused
with deterioration of this product; however, discoloration or a darkly colored (black) supernatant is an indication of
gross hemolysis.
In order to obtain a complete automated differential, these samples MUST be tested in the control
mode. Flags are likely to accompany the differential results.
1. Remove vials from the refrigerator and warm to room temperature (15-30°C) for 15 minutes before mixing.
2. To mix, hold a vial horizontally between the palms of the hands. DO NOT USE A MECHANICAL MIXER.
a) Roll the vial back and forth for 20 to 30 seconds; occasionally invert the vial. Mix vigorously but do not shake.
b) Continue to mix in this manner until the red cells are completely suspended.
c) Gently invert the vial 8-10 times immediately before sampling.
3. These samples MUST be tested in the same manner as Control material. If your instrument has a Control Mode, you must test
the samples in that mode.
4. After sampling, return vials to the refrigerator within 30 minutes. The specimens are stable for 7 days after they are opened.
IMPORTANT: Report Automated Differential results as a percentage and to one decimal point (i.e. tenths).
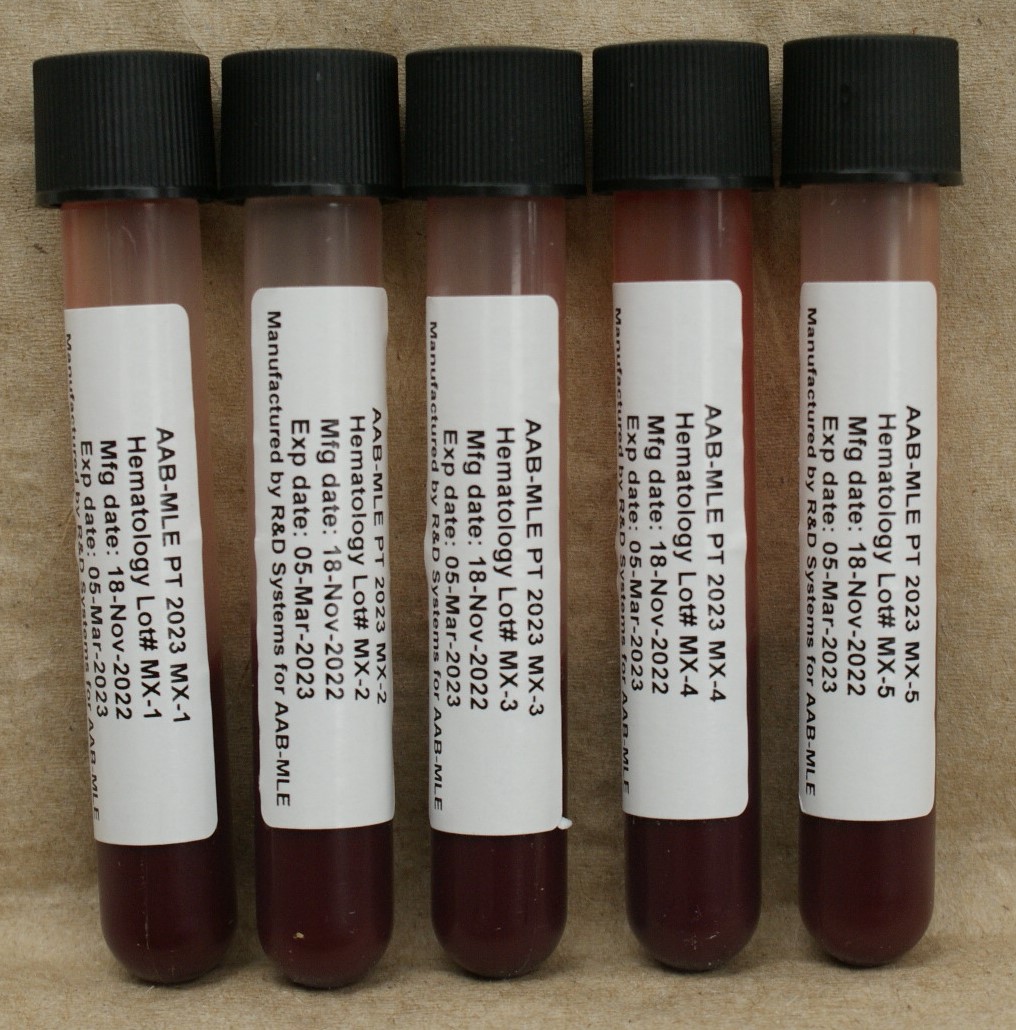
Instructions: MX Specimens
(229 Hematology with 5 or 6 part Diff – Sysmex)
NOTE: These PT samples should resemble fresh whole blood. A slightly pink supernatant is normal and should not be confused with
deterioration of this product; however, discoloration or a darkly colored (black) supernatant is an indication of gross hemolysis.
1. Remove vials from the refrigerator and warm to room temperature (15-30°C) for 15 minutes before mixing.
2. To mix, hold a vial horizontally between the palms of the hands. DO NOT USE A MECHANICAL MIXER.
• Roll the vial back and forth for 20-30 seconds; occasionally invert the vial. Mix vigorously but do not shake.
• Continue to mix in this manner until the red blood cells are completely suspended.
• Gently invert the vial 8-10 times immediately before sampling.
3. The vials are suitable for sampling by cap-piercing instruments or remove the cap and aspirate directly from the vial.
4. These samples must be analyzed in the QC program to obtain white blood cell (WBC) differential data. Read the following specimen handling
instructions before analyzing the specimens.
General instructions (may vary by instrument):
a) Click on the Controller icon on the Main Menu, if your instrument has one.
b) Click on the Setting icon.
c) Select Sampler Analysis Stop, or, click on the Sampler Stop Conditions tab.
d) If a check mark is present in the box next to Unregistered QC Sample, then click on the box to remove the check mark.
e) Click Apply, then OK, and/or Menu to return to Main Menu.
f) Enter sample ID number with the prefix QC. (see analyzer specific format below)
Sample No. MUST BE entered manually for each specimen. Keyboard to manually type sample ID number using the appropriate Sysmex analyzer specific format. Call Sysmex for instructions if your analyzer is not listed below.
Prefix QC WITH one hyphen only (Example: enter QC-MX1 for MX-1)
• XN-330, XN-350, XN-430, and XN-450
• XS-500i, XS-800i, XS-1000i
Prefix QC WITHOUT hyphens (Example: enter QCMX1 for MX-1)
• XE-2100/XE-2100L, and XE-5000
• XT-1800i, XT-2000i, and XT-4000i
• XN-530, XN-550, XN-1000, XN-2000, XN-3000, XN-3100, XN-9000, XN-9100
g) Run PT specimens and print the results.
Note: For some instruments, a “Control is not entered” error will display as PT samples are not set up in QC file. Touch Accept to clear the error. This will not affect the results.
h) When all data have been recorded, follow steps a - d to click on the box next to Unregistered QC Sample to place the check mark back in the box.
Click Apply, OK and Menu to return to Main Menu
5. After sampling, return the vials to the refrigerator within 30 minutes. The specimens are stable for 7 days after they are opened.
IMPORTANT: Report Automated Differential results as a percentage and to one decimal point (i.e., tenths).
Instructions: DH Specimens
(227 Hematology with 5-Part Diff – DxH 500 Series)
NOTE: These PT samples do not look like fresh patient blood. Moderately colored supernatant is normal and should not be confused with deterioration of this product. However, discoloration or a darkly colored (black) supernatant is an indication of gross hemolysis.
1. Remove the vials from the refrigerator and warm to room temperature (15-30°C) for 15 minutes before mixing.
2. To mix, hold a vial horizontally between the palm of the hands. DO NOT USE A MECHANICAL MIXER.
• Roll the vial back and forth for 20-30 seconds; occasionally invert the vial. Mix vigorously but do not shake.
• Continue to mix in this manner until the red blood cells are completely suspended.
• Gently invert the vial 10 times immediately before sampling.
3. The vials are suitable for sampling cap-piercing instruments or remove the cap and aspirate directly from the vial. Test the sample in the same manner as you would test a patient sample.
4. After sampling, return the vials to the refrigerator within 30 minutes. The specimens are stable for 7 days after they are opened.
DXH 500 AND DXH 520 INSTRUMENTS
Note: Software version determines which source to select in QC mode.
Please call Beckman Coulter Technical Support if you are unable to determine which software version your instrument is using by following the instructions below.
Software Version Verification
• Select Setup icon.
• In the About section, select About ©Version icon.
• Verify the instrument software: V2 configuration.
Samples must be run in QC mode and set up according to the instructions below.
1. Select Setup icon.
2. In the Quality Assurance Setup section, select Setup Controls icon.
3. Highlight an empty control file and select the Manual icon.
4. In the New QC Setup screen, select Source according to the DxH 500/520 instrument software:
• Software 2.6.5 and above: Select Patient for Source.
• Software 2.0.8-002 and below: Select Other for Source.
5. Using the on-screen keypad, manually enter the Lot# using the proficiency sample ID# excluding hyphens or special characters. (Note: Do not use hyphens when entering lot
numbers for controls. A hyphen causes the control results to be stored as patient results).
6. Enter the Expiration Date: Expiration date will be the processing date.
7. Using the drop-down arrow, select the level. Any level may be selected, as this will not influence the results.
8. Using the manual keypad, enter an MCV Target value of 89.0 and Limit value of 5.
9. Select green checkmark to confirm and save the information.
Running PT samples on the DxH 520 in Closed Vial mode:
1. Select Display/Run
2. Select Next to enter a Specimen ID.
3. Using the onscreen keyboard, manually enter the sample ID # which was entered as the Lot # in the control file setup.
4. Verify CD panel is selected for Test and WB (Whole Blood) for Specimen type> Click green check mark to save and run PT sample in closed vial mode.
DXH 560 INSTRUMENTS
Samples must be run in QC mode and set up according to the instructions below.
1. Select Setup icon.
2. In the Quality Assurance Setup section, select Setup Controls icon.
3. Highlight an empty control file and select the Manual icon.
4. In the new QC Setup screen, select Patient for Source. Using the on-screen keypad, manually enter the Lot# using the proficiency sample ID# excluding hyphens or special characters. (Note: Do not use hyphens when entering lot numbers for controls. A hyphen causes the control results to be stored as patient results).
5. Enter the Expiration Date: Expiration date will be the processing date.
6. Using the drop-down arrow, select the level. Any level may be selected, as this will not influence the results.
7. Using the manual keypad, enter an MCV Target Value of 89.0 and Limit value of 5.
8. Select green checkmark to confirm and save the information.
Running PT samples on the DxH 560 in Open Vial mode:
PT samples must be run in open vial/single tube presentation.
1. Select Display/Run > Select Single Tube
2. Select Next to enter a Specimen ID.
3. Using the onscreen keyboard, manually enter the sample ID # which was entered as the Lot # in the control file setup.
4. Verify CD panel is selected for Test and WB (Whole Blood) for Specimen type> Click green check mark to save.
5. Select Open Tube and run PT sample in Single Tube presentation (open vial) or Specimen type> Click green check mark to save.
IMPORTANT: Report Automated Differential results as a percentage and to one decimal point (i.e., tenths).

(215 Hemoglobin/Glucose - Hemocue)
1. Remove the vials from the refrigerator and warm to room temperature (20-25°C). This should take about 15-20 minutes.
2. Mix each vial by inversion until all red blood cells are completely suspended.
• Do not shake or mix mechanically.
3. DO NOT FILL THE HEMOCUE CUVETTE DIRECTLY FROM THE VIAL. Dispense a drop of the specimen onto a hydrophobic surface, for example,
parafilm. Apply the cuvette to the specimen drop.
4. After sampling, wipe the threads of each vial and cap clean. Replace cap and return to refrigerator. It is recommended that all testing be completed
within 7 days of opening the vials.

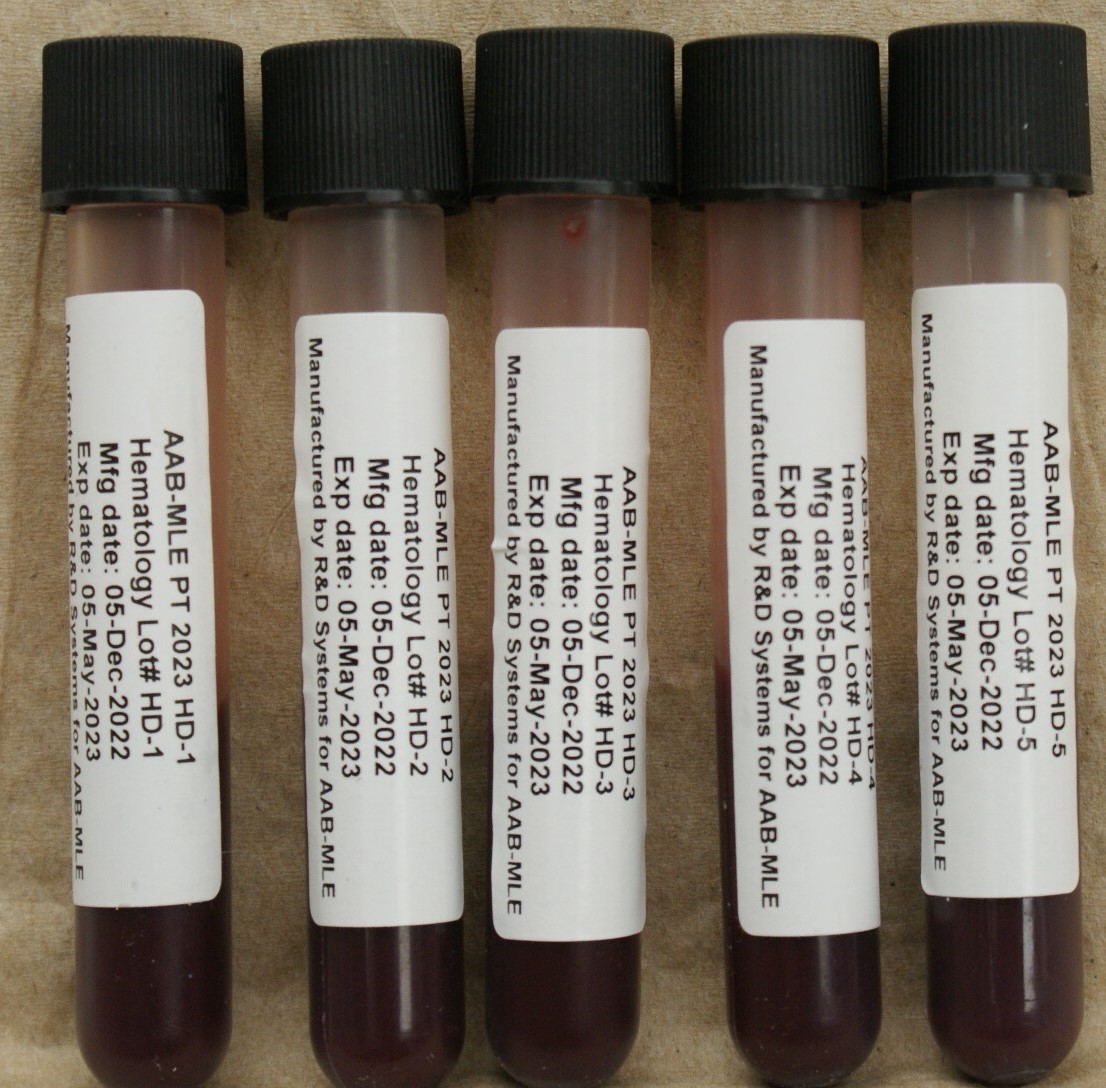
Instructions: HD Specimens
(212 Hemoglobin/Hematocrit/WBC)
NOTE: These PT samples do not look like fresh patient blood. Moderately colored supernatant is normal and should not be confused with deterioration of this product. However, discoloration or a darkly colored (black) supernatant is an indication of gross hemolysis.
1. Remove the vials from the refrigerator and warm to room temperature (15-30°C) for 15 minutes before mixing.
2. To mix, hold a vial horizontally between the palm of the hands. DO NOT USE A MECHANICAL MIXER.
• Roll the vial back and forth for 20-30 seconds; occasionally invert the vial. Mix vigorously but do not shake.
• Continue to mix in this manner until the red blood cells are completely suspended.
• Gently invert the vial 10 times immediately before sampling.
3. The vials are suitable for sampling cap-piercing instruments or remove the cap and aspirate directly from the vial. Test the sample in the same manner as you would test a patient sample.
4. After sampling, return the vials to the refrigerator within 30 minutes. The specimens are stable for 7 days after they are opened.
Instructions: HD Specimens Return to PPM Package
(213 Hemoglobin/Hematocrit – Waived)
NOTE: These PT samples do not look like fresh patient blood. Moderately colored supernatant is normal and should not be confused with deterioration of this product. However, discoloration or a darkly colored (black) supernatant is an indication of gross hemolysis.
1. Remove vials from the refrigerator and warm to room temperature (15-30°C) for 15 minutes before mixing.
2. To mix, hold a vial horizontally between the palms of the hands. DO NOT USE A MECHANICAL MIXER. Roll the vial back and forth for 20-30 seconds;
occasionally invert the vial. Continue to mix in this manner until the red blood cells are completely suspended.
3. Test the sample in the same manner as you would test a patient sample.
4. After sampling, return the vials to the refrigerator within 30 minutes. The specimens are stable for 7 days after they are opened.
Instructions: RT Specimens
1. Remove the vials from the refrigerator and warm to room temperature (20-25°C) for 15 minutes.
2. Mix the vials by gently inverting between thumb and index finger until all red blood cells are completely suspended.
• Do not shake or mix mechanically.
3. Refer to the appropriate procedure below (manual or automated).
Manual Methods: Follow your routine procedure for preparing and counting a reticulocyte smear. For best results, do not mix sample
and stain together directly on the slide. Use only clean, lint free slides to make your smear. If the red cells appear to
pool or clump on your smear, remake your smear using an alcohol-cleaned slide.
Automated Methods: Follow your instrument manufacturer’s procedure for testing. If sample preparation is needed, be sure to incubate
and store the samples in the dark at room temperature. Run the prepared sample within 15 minutes of the minimum
incubation time for your method.
5. After testing, wipe threads of each vial and cap clean. Replace cap and return to refrigerator. It is recommended that all testing be completed
within 48 hours of opening the vials.

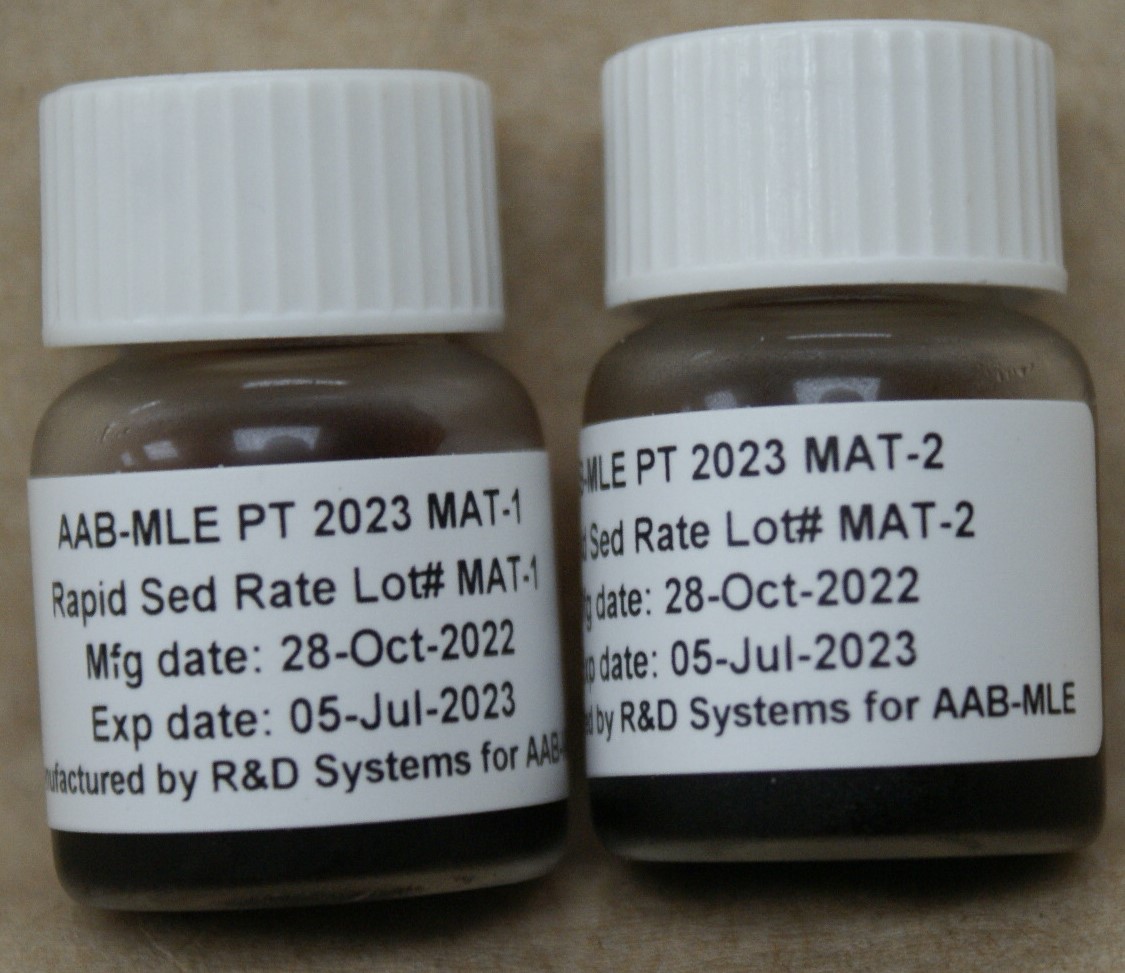
Instructions: MAT Specimens
(248 Rapid Sedimentation Rate)
1. Remove the specimens from the refrigerator and allow them to come to room temperature (20-25°C). This should take about 15 minutes.
2. Mix each vial by rolling between palms for 30-60 seconds until all red blood cells are completely suspended. Inadequate mixing will affect your results.
IMPORTANT: Do not use a mechanical rocker.
3. Gently invert the vials 10 times immediately prior to testing.
4. Test the specimens as you would a patient according to the manufacturer’s instructions.
5. After sampling, wipe the threads of each vial and cap clean. Replace cap and return to refrigerator within 30 minutes of use. Store the vials in the
refrigerator until you receive the evaluation of your results. If needed, the samples can be retested.
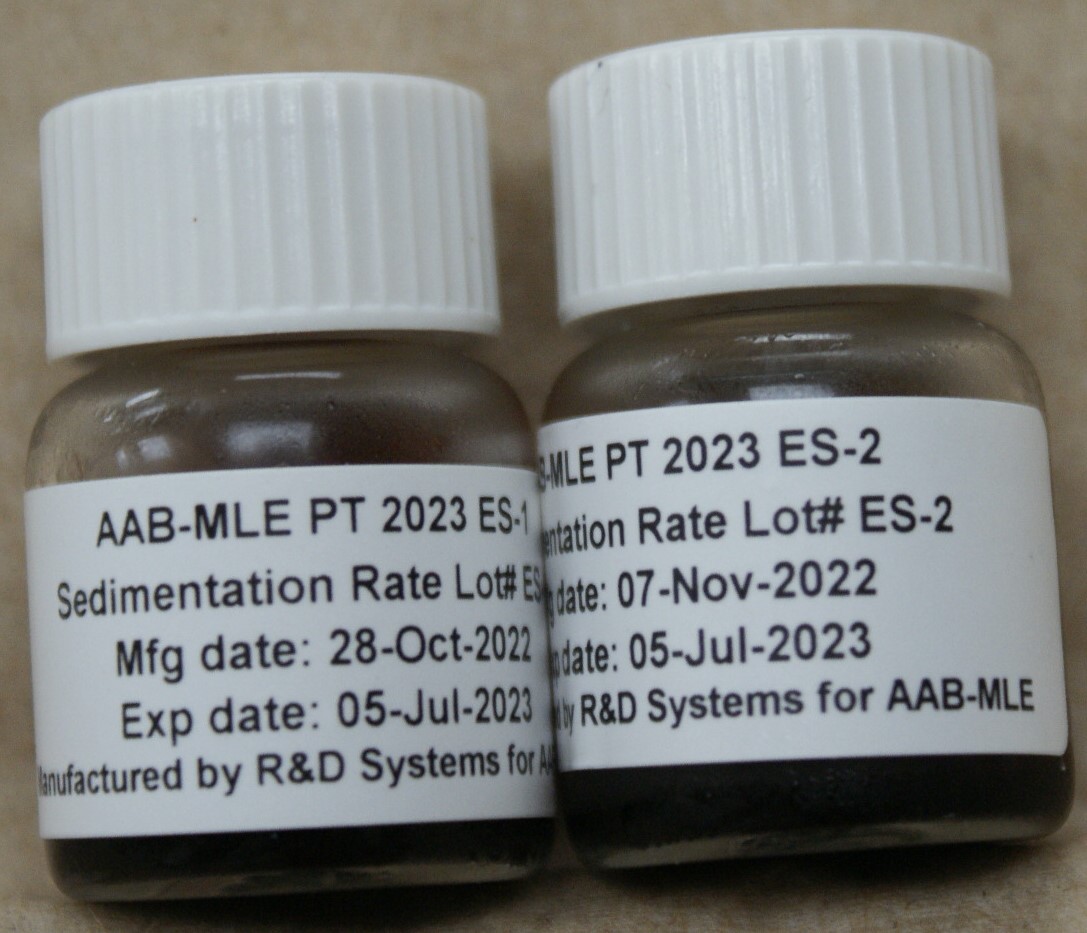
Instructions: ES Specimens
1. Remove specimens from the refrigerator and allow them to come to room temperature (20-25°C). This should take about 15 minutes.
2. Mix each vial by rolling between palms for 30-60 seconds until all red blood cells are completely suspended. Inadequate mixing will affect your results.
IMPORTANT: DO NOT USE a mechanical rocker.
3. Gently invert the vials 10 times immediately prior to testing.
4. For manual methods: Test specimens in the same manner as a patient sample.
5. For automated methods: Test the specimens as you would a patient according to the manufacturer’s instructions.
6. After sampling, wipe the threads of each vial and cap clean. Replace cap and return to refrigerator within 30 minutes of use. Store the vials in the
refrigerator until you receive the evaluation of your results. If needed, the samples can then be retested.
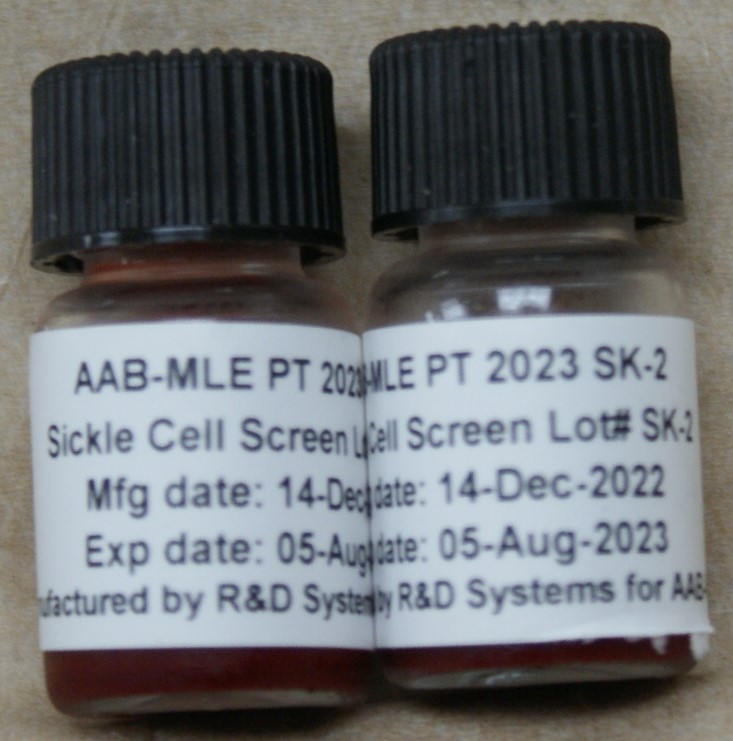
Instructions: SK Specimens
1. Remove the vials from the refrigerator and warm to room temperature (15-30°C) for 15 minutes before mixing.
2. Mix samples by rolling the vial horizontally between the palms for 20 to 30 seconds.
3. Mix further by gentle inversion 8 to 10 times before sampling.
4. Tests that require 20 μL of sample should use 1 drop of sample. Tests that require 50 μL of sample should use 3 drops of sample. (Hold vial vertically without tilting to insure accurate drop measurement.)
5. After sampling, return the vials to the refrigerator within 30 minutes. The specimens are stable for 7 days after they are opened
Code your qualitative answers as either 10 for negative or 11 for positive and code the method used by entering the appropriate numeric code from the dropdown list on the online form.