Microbiology Program Modules Organism Result Codes
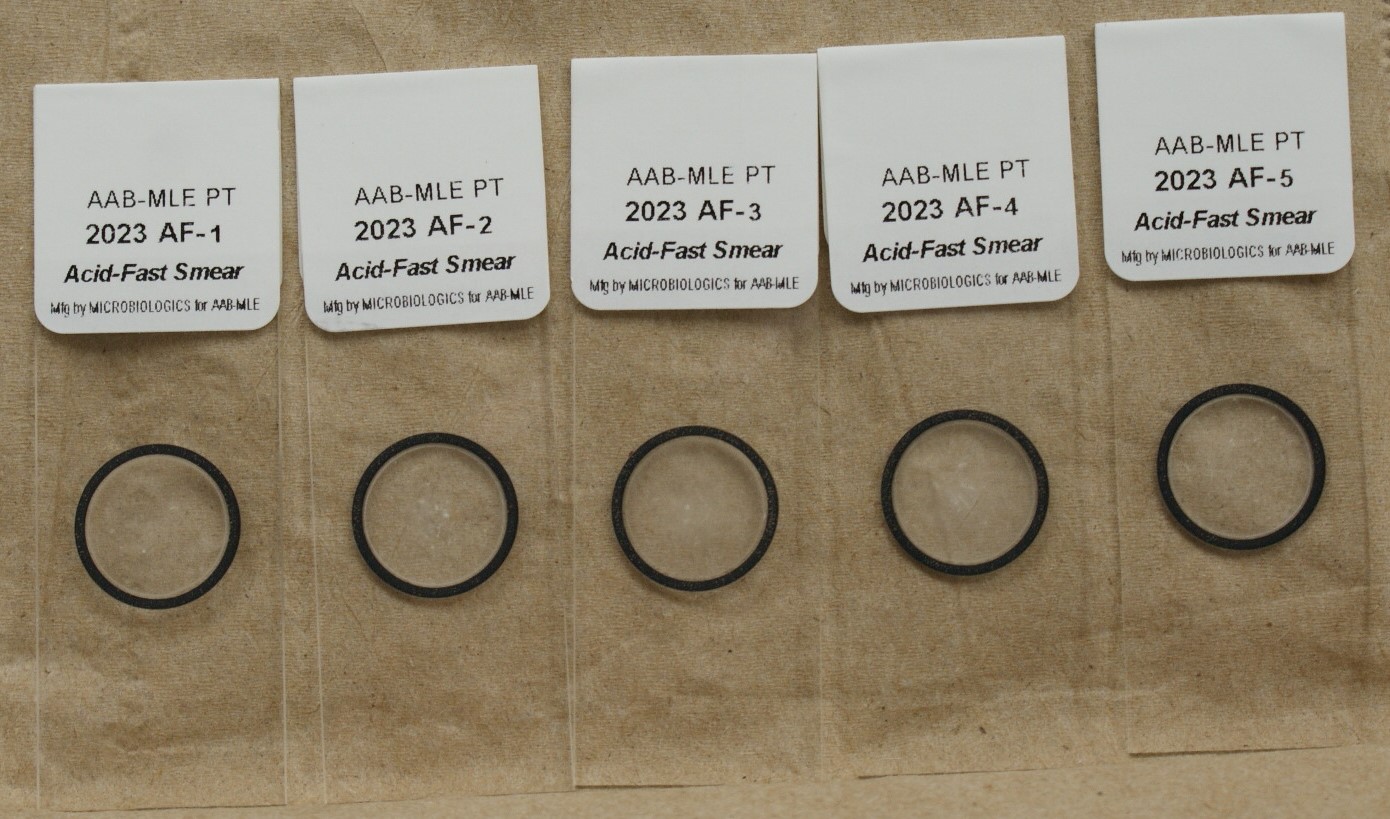
Instructions: AF Specimens
These specimens will only be included in the first and third shipments. Each sample is a formalin‐fixed prepared glass slide for Acid Fast Stain. Perform the Acid Fast Stain procedure on each sample as you would a patient sample.
Store specimens at room temperature (15-30°C) until you are ready to begin testing. Remove each slide from the cassette and verify that each slide has an identification number. As the slides are formalin-fixed, you may proceed with your Acid Fast staining procedure.
Code your online results as absence or presence of acid‐fast bacilli:
12 acid‐fast bacilli absent
13 acid‐fast bacilli present
Instructions: UC, GC, TC & BA Specimens
CAUTION: These PT specimens may contain pathogen(s) or potential pathogen(s). Handle with care.
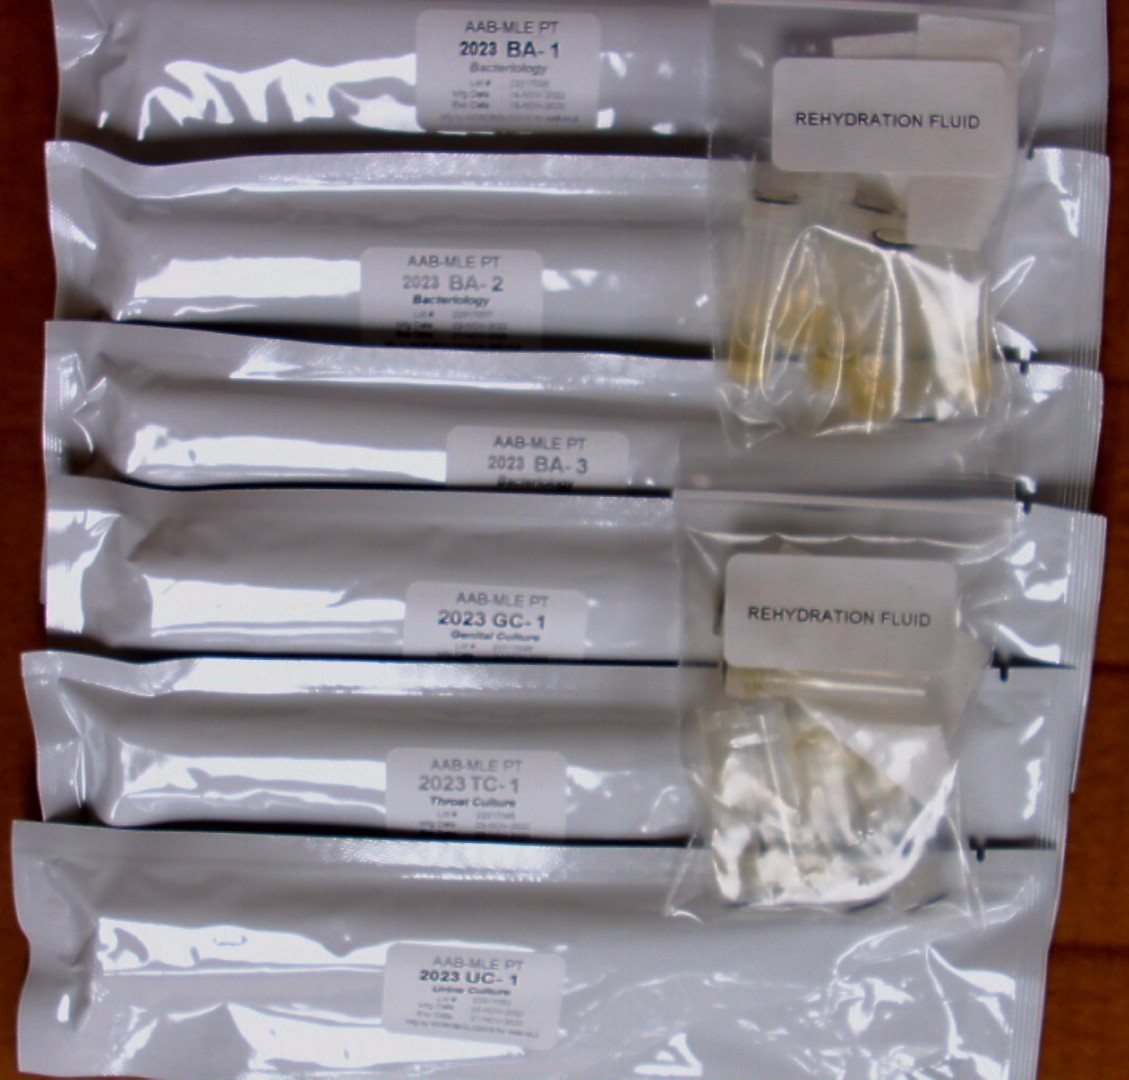
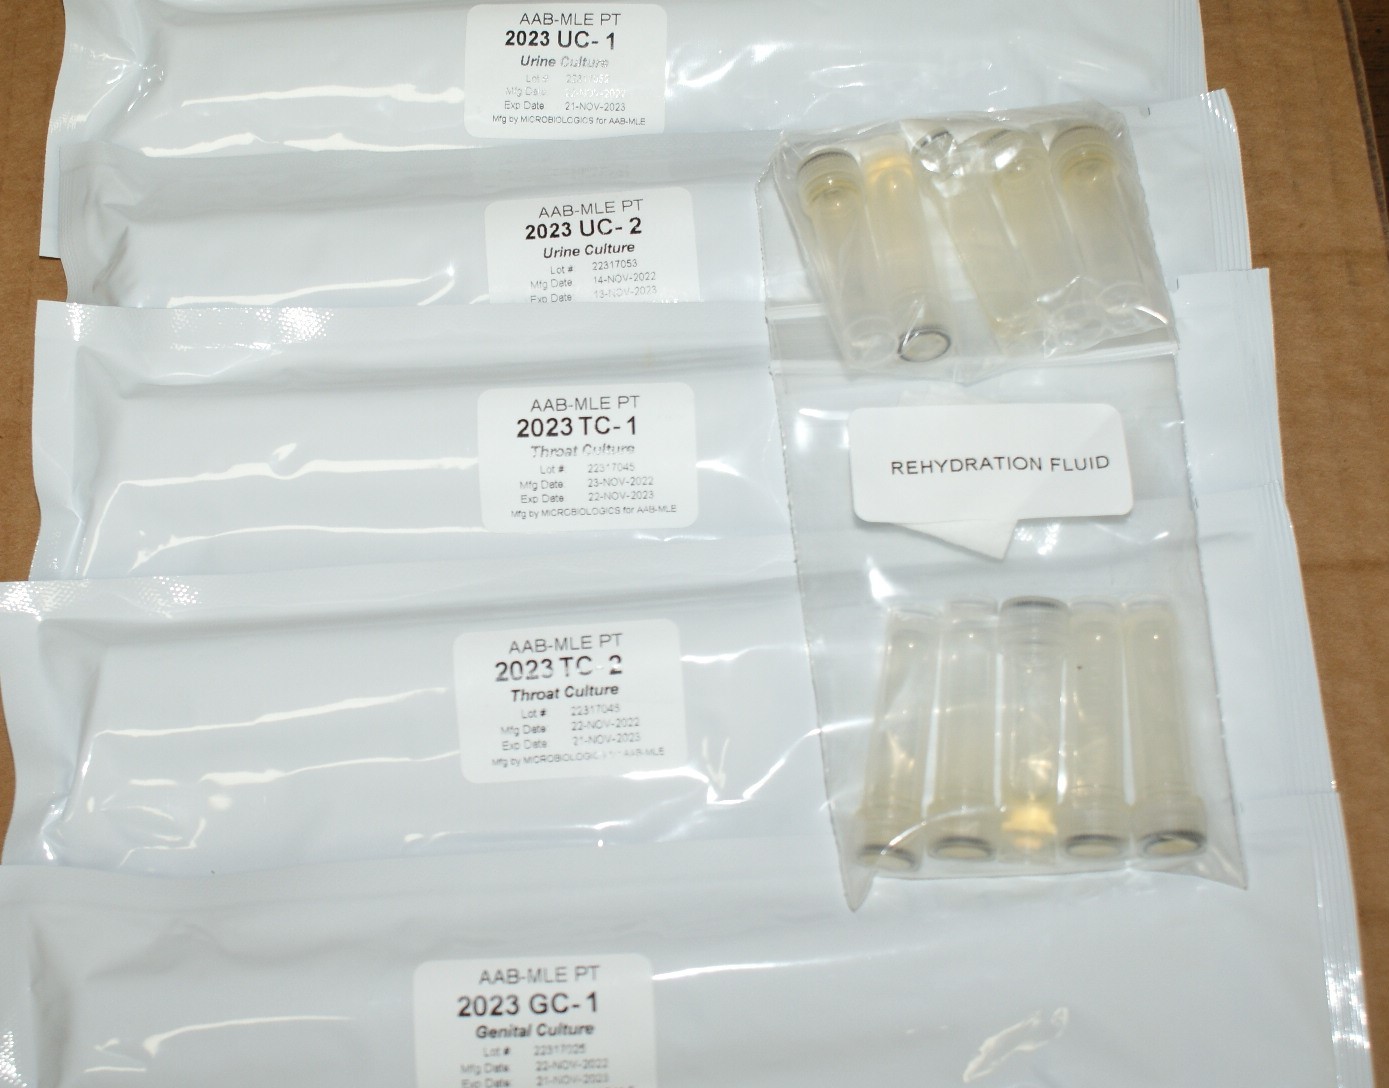
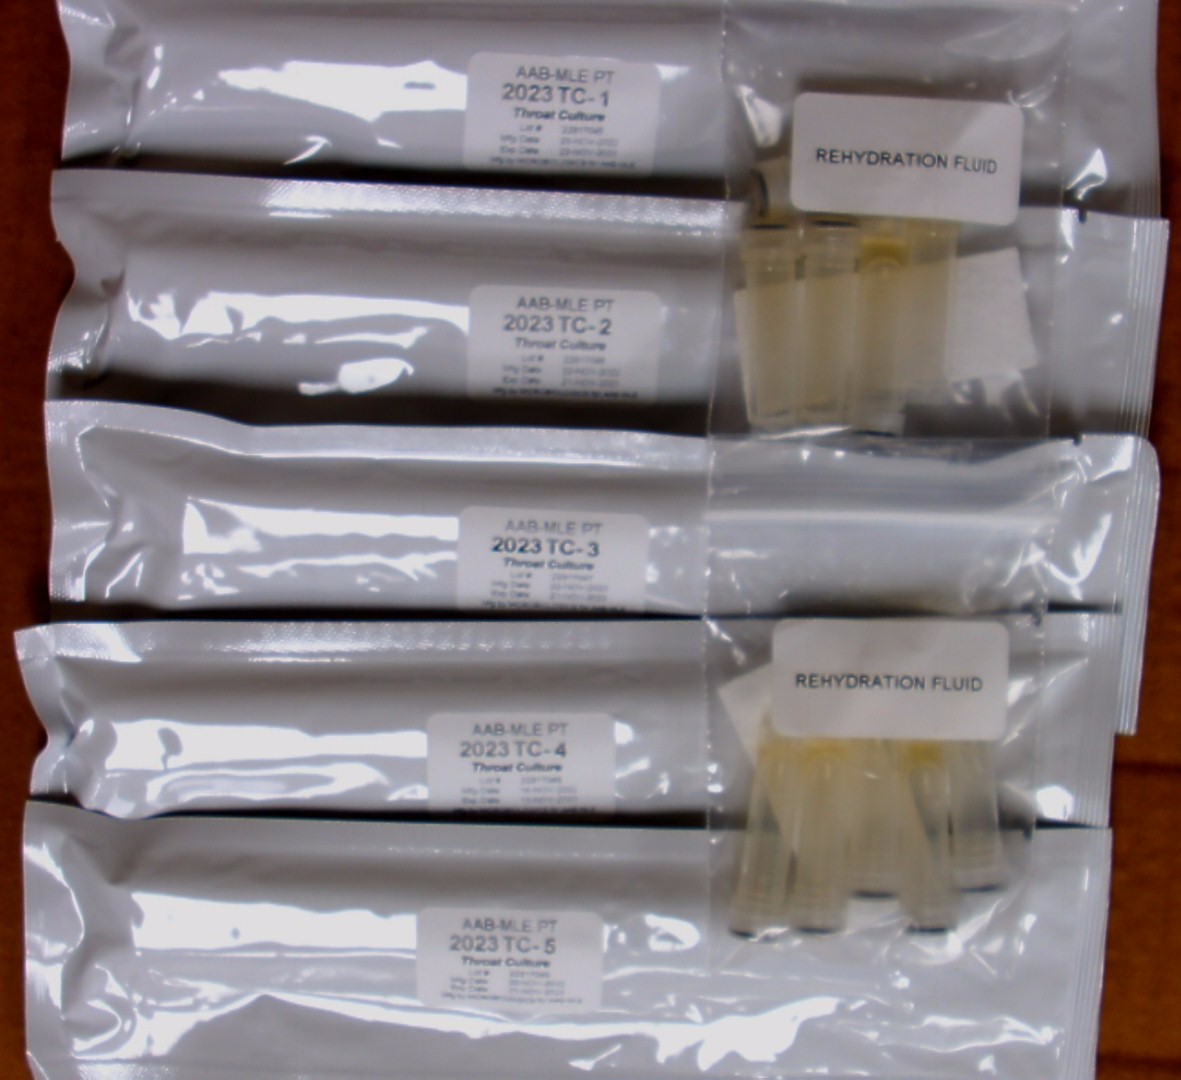
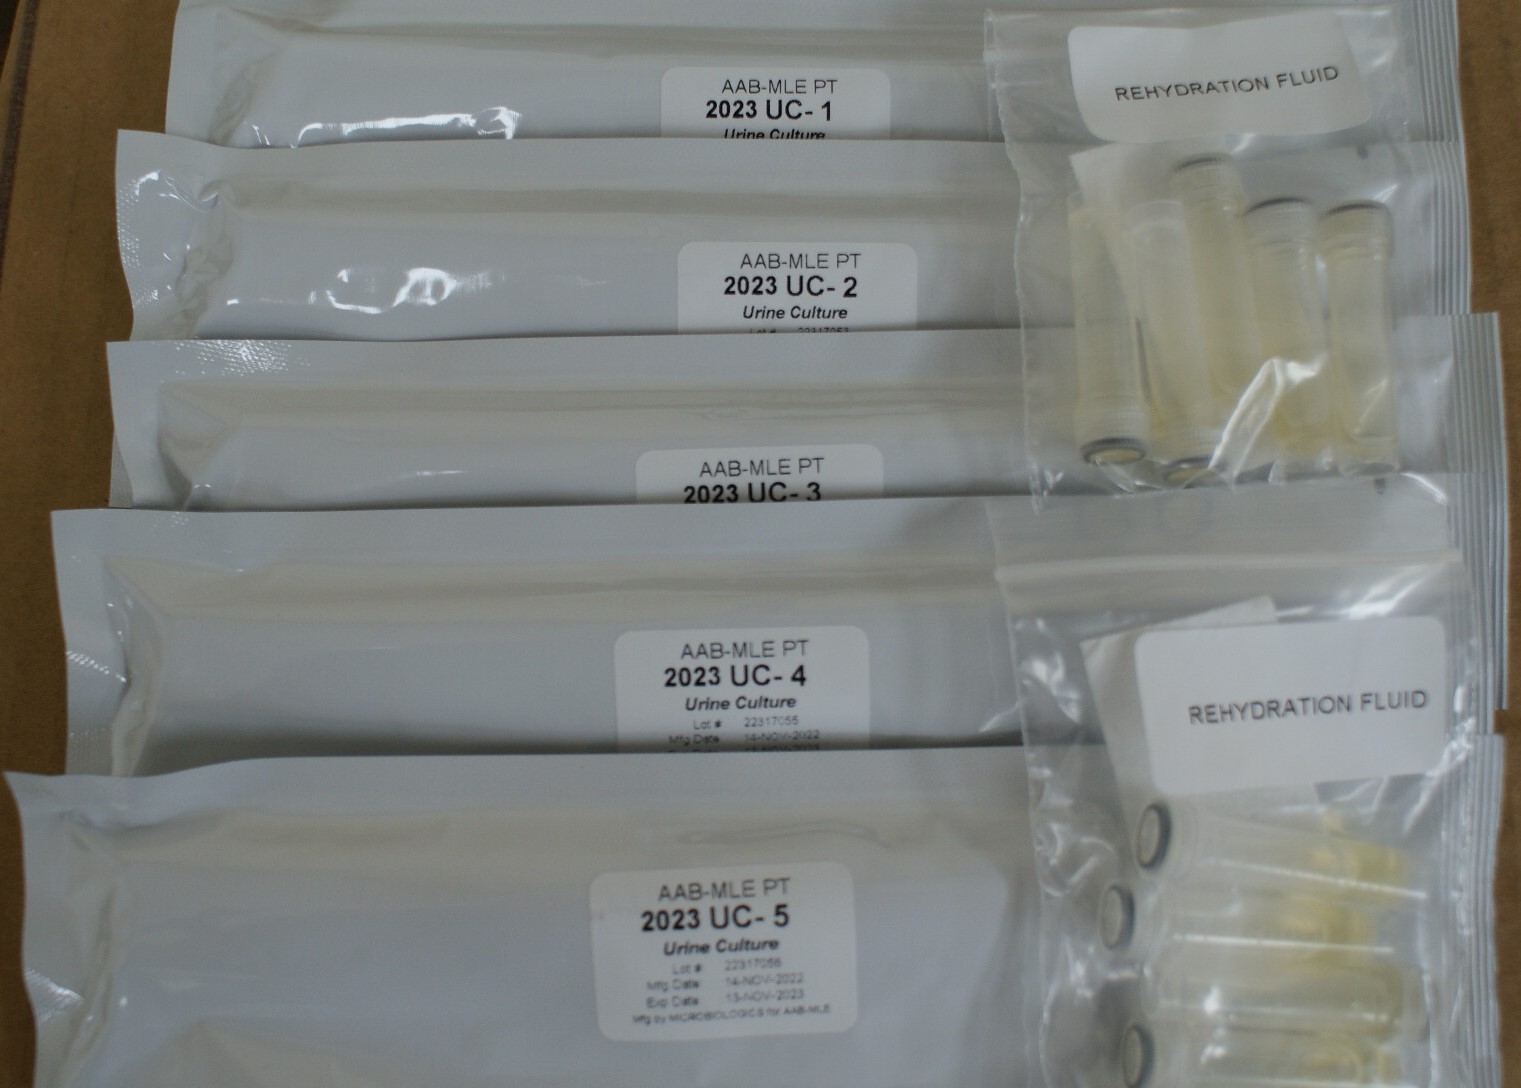
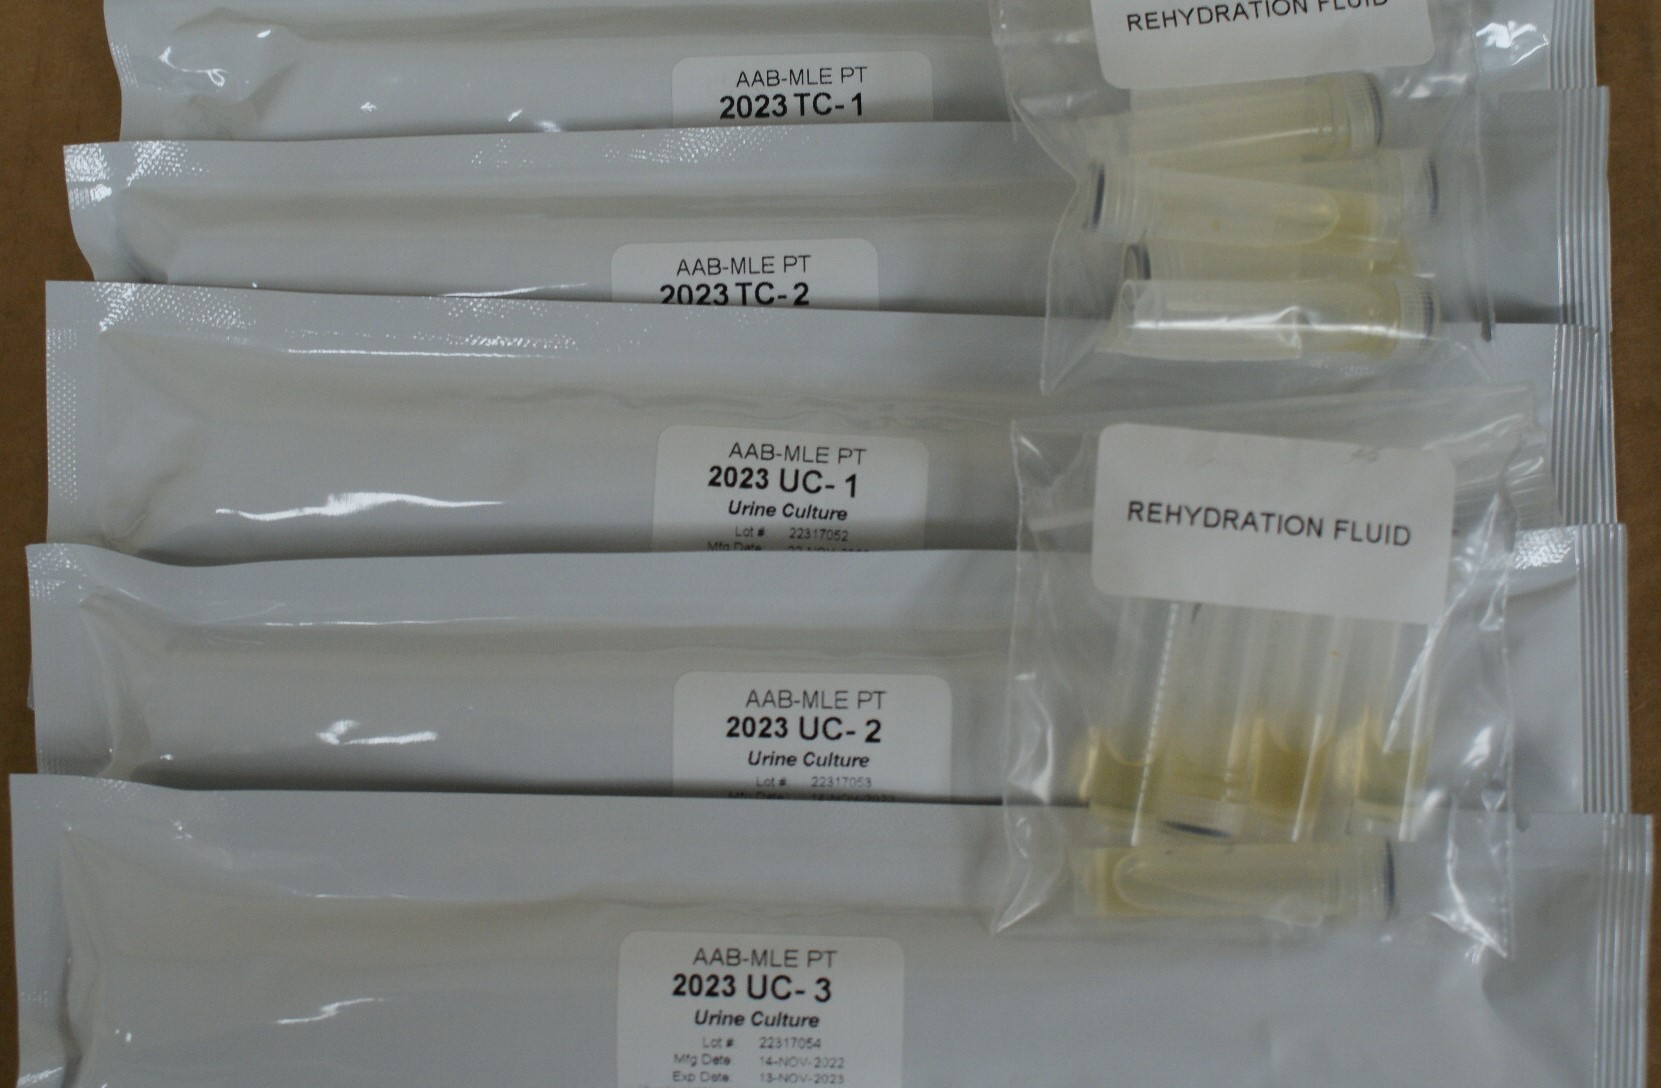
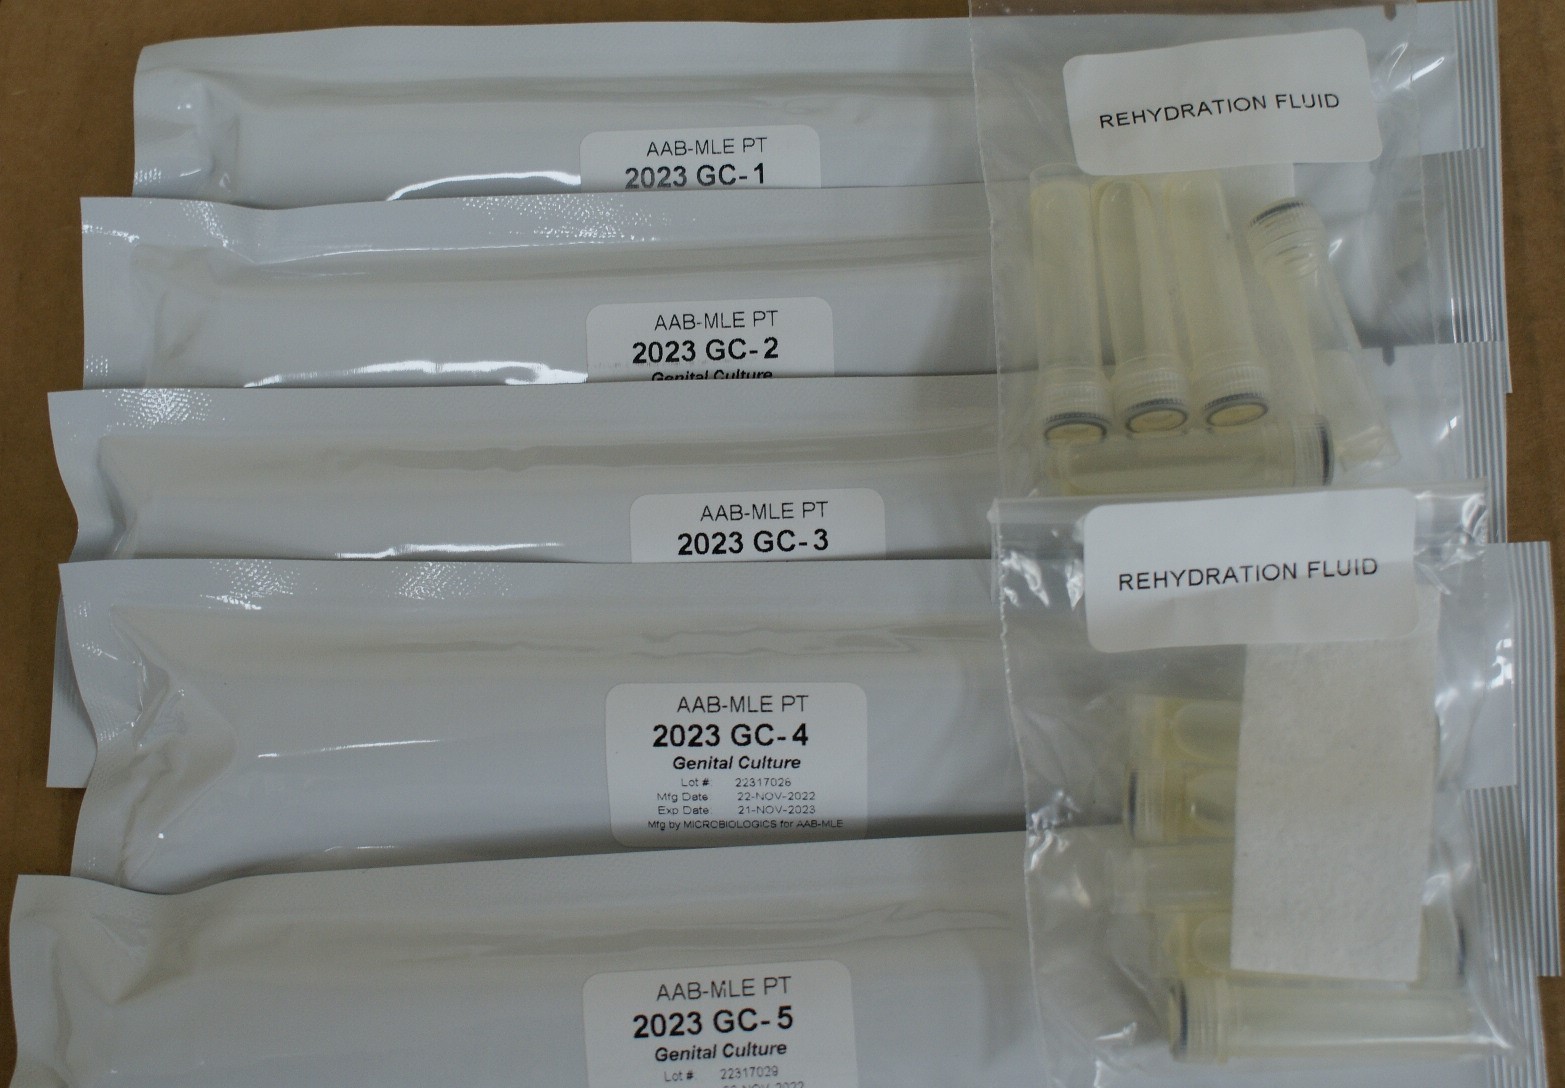
Each INOCU-SWAB II™ culture consists of 2 swabs containing viable lyophilized microorganisms in a foil pouch and rehydration fluid for activation of the organism(s) prior to use for culture and /or gram staining. Note: the rehydrating fluid vials are NOT labeled. The rehydrating fluid is not specimen specific; therefore, you may use any of the vials provided to rehydrate your specimens. We recommend you label the rehydrating vial prior to use to avoid confusion.
Follow these steps to rehydrate each INOCU-SWAB II™ specimen before testing. It will be helpful to refer to those pictures.
1. Warm an appropriate amount of media, one specimen swab and one vial of rehydrating fluid to room temperature (20-25°C) for each specimen tested. Store the second swab and extra rehydrating fluid vials in the refrigerator in case repeat testing is necessary.
2. Remove swab from plastic tube and submerge the swab portion into the fluid. Allow approximately 10 seconds for the lyophilized specimen to liquefy while mixing and swirling the swab gently.
3. Once the swab is saturated, inoculate your media directly with the swab. Return the swab to the rehydration fluid before inoculating each subsequent culture plate.
4. If you perform a gram stain as part of your identification procedure, you can now use the swab from the UC and GC specimens to transfer the specimen to a clean glass slide. Be sure to have inoculated all culture media prior to using the specimen swab to prepare your gram stain.
NOTE: There will be a small amount of charcoal residue from the lyophilization process present on your gram stain slide. This should not interfere with your ability to determine the staining pattern of the organism.
5. Continue by following the procedures and methods used in your lab to identify the organism(s) present in these specimens.
6. Record your bacterial identification by selecting the appropriate code(s) from the Organism Result Codes Master List provided with your specimens. Even though space is provided for two bacterial identifications, this does not necessarily mean two microorganisms are present.
Report only one answer code for each organism identified – i.e., do not report both Gram negative bacilli and E. coli.
7. Perform Disk Diffusion or Minimum Inhibitory Concentration (MIC) determinations on the UC specimen according to the method routinely used on patient specimens.
8. Indicate your testing method by entering the appropriate method code.
9. Find your antimicrobial agent on the reporting form. Indicate Sensitive, Intermediate, or Resistant for each antimicrobial agent normally tested and reported against the organism isolated from the first urine sample of the event.
Note: CMS requires PT programs to use the CLSI Performance Standards for Antimicrobial Susceptibility Testing.
We suggest your laboratory consult this standard before reporting your results. The CLSI standard M100 should be used to check for intrinsic resistance and to determine if the drugs reported are appropriate for the organism you isolated and the source.
A free read-only web version of the current CLSI standards, “M100 Free” is available on the CLSI website under Standards / Free Resources. CLSI updates the M100 standard each January and may issue updates at other times during the year. Significant changes may be made with each edition.
Instructions: UC, GC & TC
CAUTION: These PT specimens may contain pathogen(s) or potential pathogen(s). Handle with care.
Each INOCU-SWAB II™ culture consists of 2 swabs containing viable lyophilized microorganisms in a foil pouch and rehydration fluid for activation of the organism(s) prior to use for culture and /or gram staining. Note: the rehydrating fluid vials are NOT labeled. The rehydrating fluid is not specimen specific; therefore, you may use any of the vials provided to rehydrate your specimens. We recommend you label the rehydrating vial prior to use to avoid confusion.
Follow these steps to rehydrate each INOCU-SWAB II™ specimen before testing. It will be helpful to refer to those pictures.
1. Warm an appropriate amount of media, one specimen swab and one vial of rehydrating fluid to room temperature (20-25°C) for each specimen tested. Store the second swab and extra rehydrating fluid vials in the refrigerator in case repeat testing is necessary.
2. Remove swab from plastic tube and submerge the swab portion into the fluid. Allow approximately 10 seconds for the lyophilized specimen to liquefy while mixing and swirling the swab gently.
3. Once the swab is saturated, inoculate your media directly with the swab. Return the swab to the rehydration fluid before inoculating each subsequent culture plate.
4. If you perform a gram stain as part of your identification procedure, you can now use the swab from the UC and GC specimens to transfer the specimen to a clean glass slide. Be sure to have inoculated all culture media prior to using the specimen swab to prepare your gram stain.
NOTE: There will be a small amount of charcoal residue from the lyophilization process present on your gram stain slide. This should not interfere with your ability to determine the staining pattern of the organism.
5. Continue by following the procedures and methods used in your lab to identify the organism(s) present in these specimens.
6. Record your bacterial identification by selecting the appropriate code(s) from the Organism Result Codes Master List provided with your specimens. Even though space is provided for two bacterial identifications, this does not necessarily mean two microorganisms are present.
Report only one answer code for each organism identified – i.e., do not report both Gram negative bacilli and E. coli.
7. Perform Disk Diffusion or Minimum Inhibitory Concentration (MIC) determinations on the UC specimen according to the method routinely used on patient specimens.
8. Indicate your testing method by entering the appropriate method code.
9. Find your antimicrobial agent on the reporting form. Indicate Sensitive, Intermediate, or Resistant for each antimicrobial agent normally tested and reported against the organism isolated from the first urine sample of the event.
Note: CMS requires PT programs to use the CLSI Performance Standards for Antimicrobial Susceptibility Testing.
We suggest your laboratory consult this standard before reporting your results. The CLSI standard M100 should be used to check for intrinsic resistance and to determine if the drugs reported are appropriate for the organism you isolated and the source.
A free read-only web version of the current CLSI standards, “M100 Free” is available on the CLSI website under Standards / Free Resources. CLSI updates the M100 standard each January, and may issue updates at other times during the year. Significant changes may be made with each edition.
Instructions: TC Specimens
CAUTION: These PT specimens may contain pathogen(s) or potential pathogen(s). Handle with care.
Each INOCU-SWAB II™ culture consists of 2 swabs containing viable lyophilized microorganisms in a foil pouch and rehydration fluid for activation of the organism(s) prior to use for culture and /or gram staining. Note: the rehydrating fluid vials are NOT labeled. The rehydrating fluid is not specimen specific; therefore, you may use any of the vials provided to rehydrate your specimens. We recommend you label the rehydrating vial prior to use to avoid confusion.
Follow these steps to rehydrate each INOCU-SWAB II™ specimen before testing. It will be helpful to refer to those pictures.
1. Warm an appropriate amount of media, one specimen swab and one vial of rehydrating fluid to room temperature (20-25°C) for each specimen tested. Store the second swab and extra rehydrating fluid vials in the refrigerator in case repeat testing is necessary.
2. Remove swab from plastic tube and submerge the swab portion into the fluid. Allow approximately 10 seconds for the lyophilized specimen to liquefy while mixing and swirling the swab gently.
3. Once the swab is saturated, inoculate your media directly with the swab. Return the swab to the rehydration fluid before inoculating each subsequent culture plate.
4. Continue by following the procedures and methods used in your lab to identify the organism(s) present in these specimens.
6. Record your bacterial identification by selecting the appropriate code(s) from the Organism Result Codes Master List that came with the specimens entering it in the identification boxes. Even though space is provided for two bacterial identifications, this does not necessarily mean two microorganisms are present.
Report only one answer code for each organism identified – i.e., do not report both Gram negative bacilli and E. coli.
Instructions: UC Specimens
CAUTION: These PT specimens may contain pathogen(s) or potential pathogen(s). Handle with care.
Each INOCU-SWAB II™ culture consists of 2 swabs containing viable lyophilized microorganisms in a foil pouch and rehydration fluid for activation of the organism(s) prior to use for culture and /or gram staining. Note: the rehydrating fluid vials are NOT labeled. The rehydrating fluid is not specimen specific; therefore, you may use any of the vials provided to rehydrate your specimens. We recommend you label the rehydrating vial prior to use to avoid confusion.
Follow these steps to rehydrate each INOCU-SWAB II™ specimen before testing. It will be helpful to refer to those pictures.
1. Warm an appropriate amount of media, one specimen swab and one vial of rehydrating fluid to room temperature (20-25°C) for each specimen tested. Store the second swab and extra rehydrating fluid vials in the refrigerator in case repeat testing is necessary.
2. Remove swab from plastic tube and submerge the swab portion into the fluid. Allow approximately 10 seconds for the lyophilized specimen to liquefy while mixing and swirling the swab gently.
3. Once the swab is saturated, inoculate your media directly with the swab. Return the swab to the rehydration fluid before inoculating each subsequent culture plate.
4. If you perform a gram stain as part of your identification procedure, you can now use the swab from the first UC specimen to transfer the specimen to a clean glass slide. Be sure to have inoculated all culture media prior to using the specimen swab to prepare your gram stain.
NOTE: There will be a small amount of charcoal residue from the lyophilization process present on your gram stain slide. This should not interfere with your ability to determine the staining pattern of the organism.
5. Continue by following the procedures and methods used in your lab to identify the organism(s) present in these specimens.
6. Record your bacterial identification by selecting the appropriate code(s) from the Organism Result Codes Master List sent with your specimens. Even though space is provided for two bacterial identifications, this does not necessarily mean two microorganisms are present.
Report only one answer code for each organism identified – i.e., do not report both Gram negative bacilli and E. coli.
7. Perform Disk Diffusion or Minimum Inhibitory Concentration (MIC) determinations on the first UC specimen according to the method routinely used on patient specimens.
8. Indicate your testing method by entering the appropriate method code.
9. Find your antimicrobial agent on the reporting form. Indicate Sensitive, Intermediate, or Resistant for each antimicrobial agent normally tested and reported against the organism isolated from the first urine sample of the event.
Note: CMS requires PT programs to use the CLSI Performance Standards for Antimicrobial Susceptibility Testing.
We suggest your laboratory consult this standard before reporting your results. The CLSI standard M100 should be used to check for intrinsic resistance and to determine if the drugs reported are appropriate for the organism you isolated and the source.
A free read-only web version of the current CLSI standards, “M100 Free” is available on the CLSI website under Standards / Free Resources. CLSI updates the M100 standard each January and may issue updates at other times during the year. Significant changes may be made with each edition.
Instructions: UC & TC Specimens
CAUTION: These PT specimens may contain pathogen(s) or potential pathogen(s). Handle with care.
Each INOCU-SWAB II™ culture consists of 2 swabs containing viable lyophilized microorganisms in a foil pouch and rehydration fluid for activation of the organism(s) prior to use for culture and /or gram staining. Note: the rehydrating fluid vials are NOT labeled. The rehydrating fluid is not specimen specific; therefore, you may use any of the vials provided to rehydrate your specimens. We recommend you label the rehydrating vial prior to use to avoid confusion.
Follow these steps to rehydrate each INOCU-SWAB II™ specimen before testing. It will be helpful to refer to those pictures.
1. Warm an appropriate amount of media, one specimen swab and one vial of rehydrating fluid to room temperature (20-25°C) for each specimen tested. Store the second swab and extra rehydrating fluid vials in the refrigerator in case repeat testing is necessary.
2. Remove swab from plastic tube and submerge the swab portion into the fluid. Allow approximately 10 seconds for the lyophilized specimen to liquefy while mixing and swirling the swab gently.
3. Once the swab is saturated, inoculate your media directly with the swab. Return the swab to the rehydration fluid before inoculating each subsequent culture plate.
4. If you perform a gram stain as part of your identification procedure, you can now use the swab from the first UC specimen to transfer the specimen to a clean glass slide. Be sure to have inoculated all culture media prior to using the specimen swab to prepare your gram stain.
NOTE: There will be a small amount of charcoal residue from the lyophilization process present on your gram stain slide. This should not interfere with your ability to determine the staining pattern of the organism.
5. Continue by following the procedures and methods used in your lab to identify the organism(s) present in these specimens.
6. Record your bacterial identification by selecting the appropriate code(s) from the Organism Result Codes Master List that came with the specimens and entering it in the identification boxes. Even though space is provided for two bacterial identifications, this does not necessarily mean two microorganisms are present.
Report only one answer code for each organism identified – i.e., do not report both Gram negative bacilli and E. coli.
7. Perform Disk Diffusion or Minimum Inhibitory Concentration (MIC) determinations on the first UC specimen according to the method routinely used on patient specimens.
8. Indicate your testing method by entering the appropriate method code.
9. Find your antimicrobial agent on the reporting form. Indicate Sensitive, Intermediate, or Resistant for each antimicrobial agent normally tested and reported against the organism isolated from the first urine sample of the event.
Note: CMS requires PT programs to use the CLSI Performance Standards for Antimicrobial Susceptibility Testing.
We suggest your laboratory consult this standard before reporting your results. The CLSI standard M100 should be used to check for intrinsic resistance and to determine if the drugs reported are appropriate for the organism you isolated and the source.
A free read-only web version of the current CLSI standards, “M100 Free” is available on the CLSI website under Standards / Free Resources. CLSI updates the M100 standard each January and may issue updates at other times during the year. Significant changes may be made with each edition.
Instructions: GC Specimens
CAUTION: These PT specimens may contain pathogen(s) or potential pathogen(s). Handle with care.
Each INOCU-SWAB II™ culture consists of 2 swabs containing viable lyophilized microorganisms in a foil pouch and rehydration fluid for activation of the organism(s) prior to use for culture and /or gram staining. Note: the rehydrating fluid vials are NOT labeled. The rehydrating fluid is not specimen specific; therefore, you may use any of the vials provided to rehydrate your specimens. We recommend you label the rehydrating vial prior to use to avoid confusion.
Follow these steps to rehydrate each INOCU-SWAB II™ specimen before testing. It will be helpful to refer to those pictures.
1. Warm an appropriate amount of media, one specimen swab and one vial of rehydrating fluid to room temperature (20-25°C) for each specimen tested. Store the second swab and extra rehydrating fluid vials in the refrigerator in case repeat testing is necessary.
2. Remove swab from plastic tube and submerge the swab portion into the fluid. Allow approximately 10 seconds for the lyophilized specimen to liquefy while mixing and swirling the swab gently.
3. Once the swab is saturated, inoculate your media directly with the swab. Return the swab to the rehydration fluid before inoculating each subsequent culture plate.
4. If you perform a gram stain as part of your identification procedure, you can now use the swab from the first GC specimen to transfer the specimen to a clean glass slide. Be sure to have inoculated all culture media prior to using the specimen swab to prepare your gram stain.
NOTE: There will be a small amount of charcoal residue from the lyophilization process present on your gram stain slide. This should not interfere with your ability to determine the staining pattern of the organism.
5. Continue by following the procedures and methods used in your lab to identify the organism(s) present in these specimens.
6. Record your bacterial identification by selecting the appropriate code(s) from the Organism Result Codes Master List sent with your specimens and entering it in the identification boxes. Even though space is provided for two bacterial identifications, this does not necessarily mean two microorganisms are present.
Report only one answer code for each organism identified – i.e., do not report both Gram negative bacilli and E. coli.
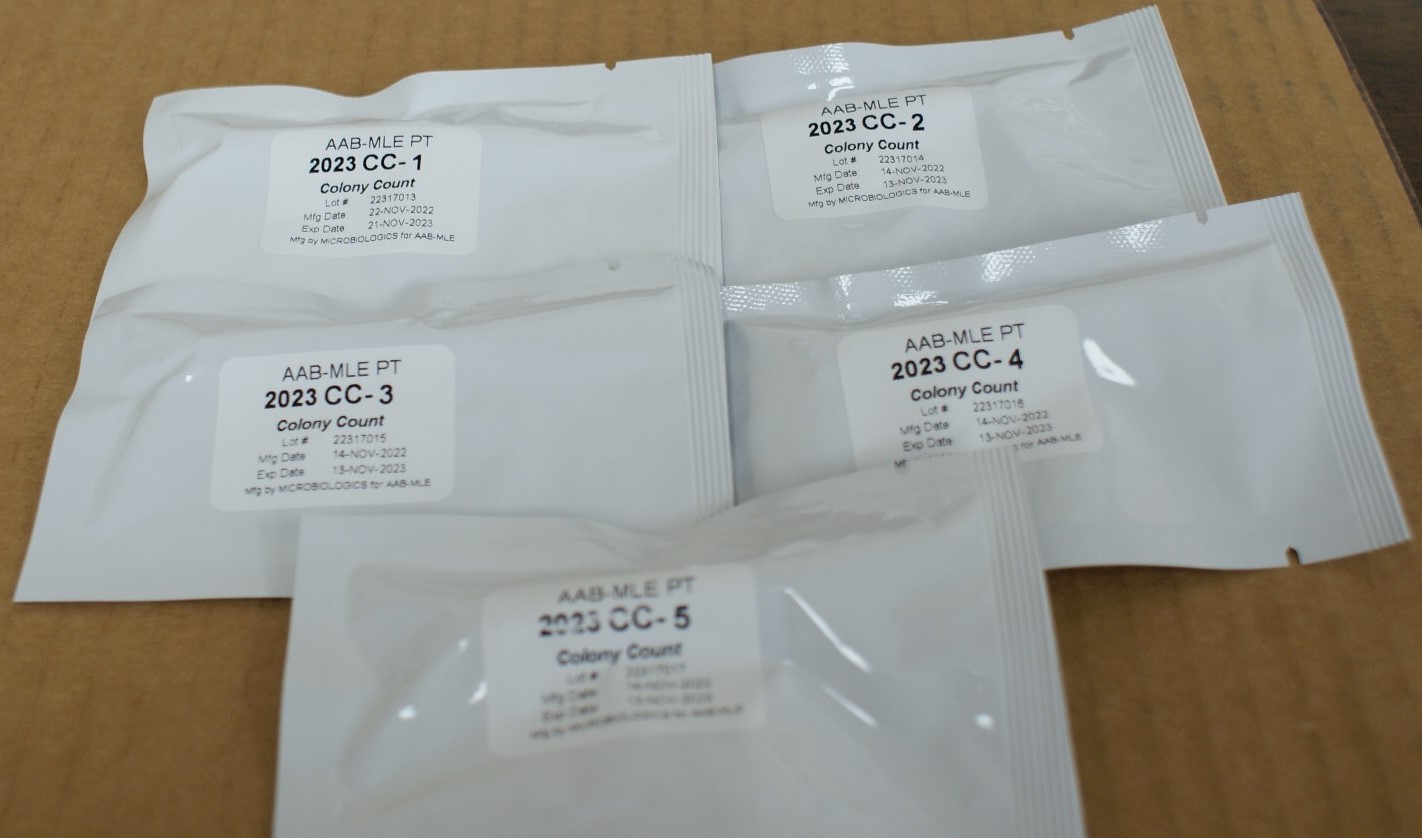
Instructions: CC Specimens
CAUTION: These PT specimens may contain pathogen(s) or potential pathogen(s). Handle with care. Do not create aerosols.
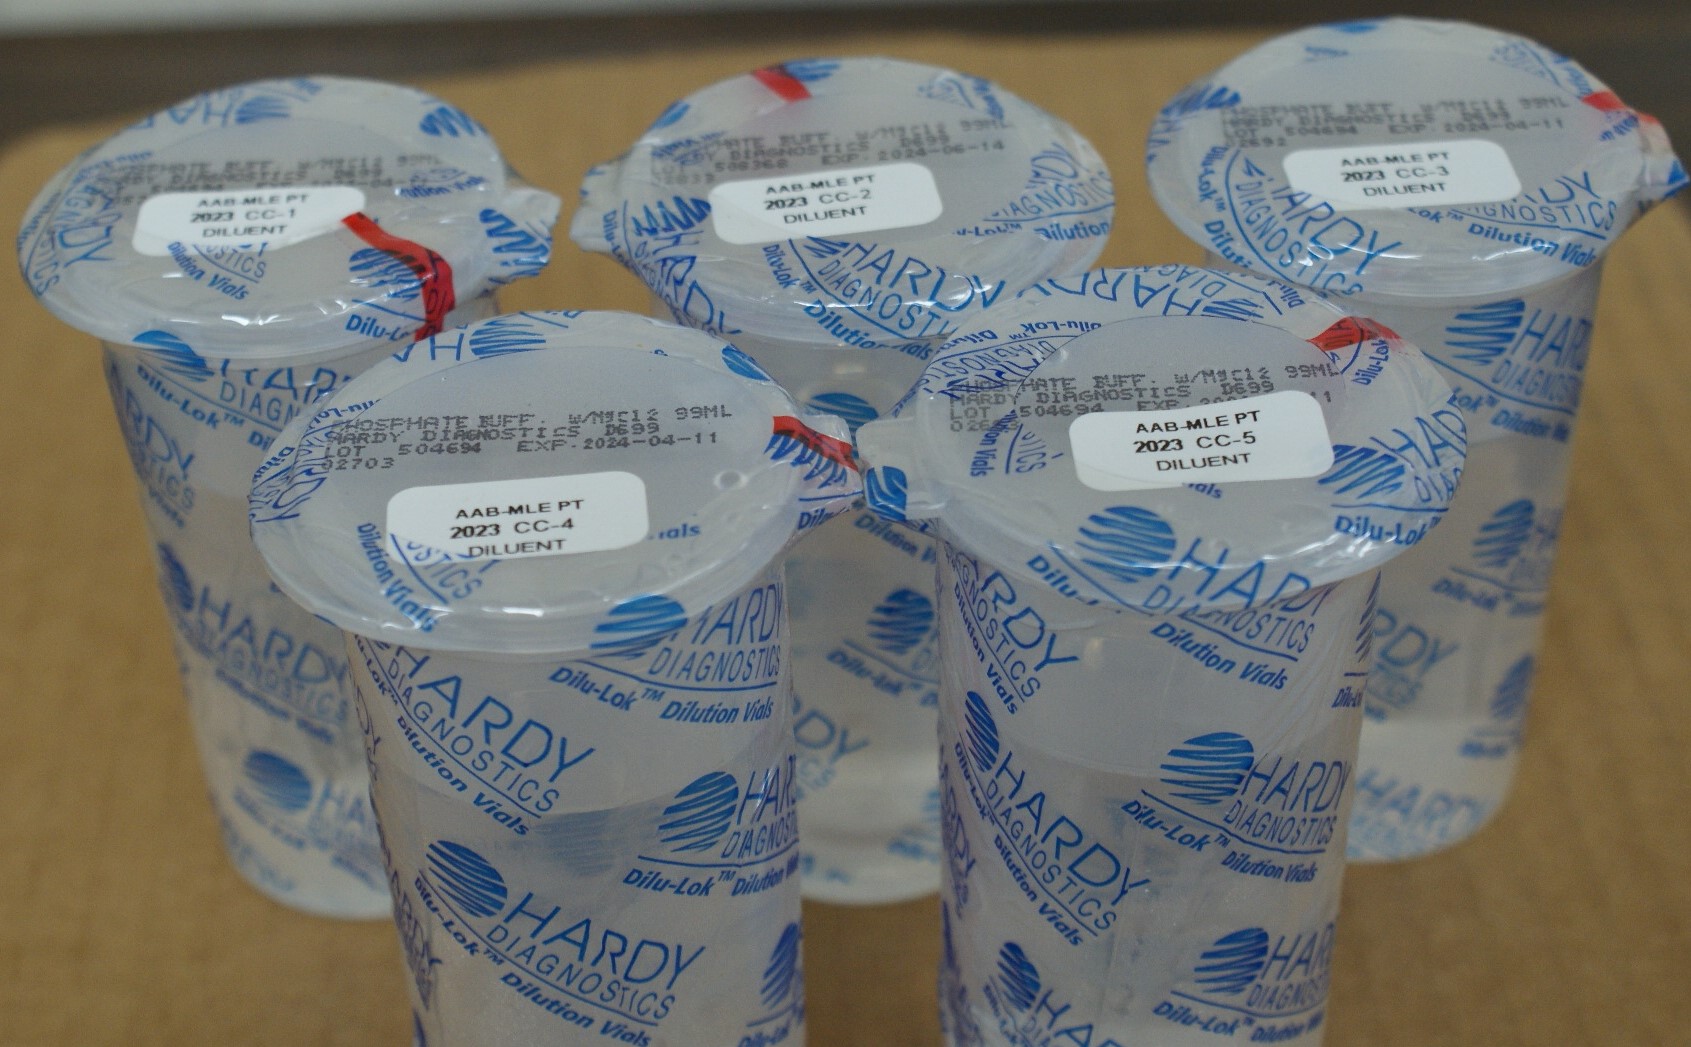
Each Inocu-Pellets™colony count specimen consists of a labeled foil pouch containing a lyophilized pellet in a labeled vial and a labeled 99 mL bottle of dilution fluid. Be sure to match the specimen wih the dilution fluid bottle when testing.
Follow these steps to rehydrate each Inocu-Pellets™ specimen before testing. It will be helpful to refer to those pictures.
1. Warm an appropriate amount of media, specimen pellet vial and 99 mL bottle of dilution fluid to room temperature (20-25°C) for each specimen tested.
2. Remove the cap from the sample vial and open the flip-top on the dilution fluid bottle.
3. Empty the lyophilized pellet into the dilution fluid and re-cap the bottle securely. Be sure to avoid touching the pellet to avoid contamination.
4. Mix the contents of the bottle vigorously until the entire pellet has dissolved and the suspension is homogenous in appearance.
5. Continue by following the procedures and methods used in your lab to perform colony count testing.
Instructions: Miscellaneous Cultures BA Specimens
CAUTION: These PT specimens may contain pathogen(s) or potential pathogen(s). Handle with care.
Each INOCU-SWAB II™ culture consists of 2 swabs containing viable lyophilized microorganisms in a foil pouch and rehydration fluid for activation of the organism(s) prior to use for culture and /or gram staining. Note: the rehydrating fluid vials are NOT labeled. The rehydrating fluid is not specimen specific; therefore, you may use any of the vials provided to rehydrate your specimens. We recommend you label the rehydrating vial prior to use to avoid confusion.
Follow these steps to rehydrate each INOCU-SWAB II™ specimen before testing. These instructions are illustrated in your MLE Program Guide. It may be helpful to refer to those pictures.
1. Warm an appropriate amount of media, one specimen swab and one vial of rehydrating fluid to room temperature (20-25°C) for each specimen tested. Store the second swab and extra rehydrating fluid vials in the refrigerator in case repeat testing is necessary.
2. Remove swab from plastic tube and submerge the swab portion into the fluid. Allow approximately 10 seconds for the lyophilized specimen to liquefy while mixing and swirling the swab gently.
3. Once the swab is saturated, inoculate your media directly with the swab. Return the swab to the rehydration fluid before inoculating each subsequent culture plate.
4. Continue by following the procedures and methods used in your lab to identify the organism(s) present in these specimens.
6. Record your bacterial identification by selecting the appropriate code(s) from the Organism Result Codes Master List that came with the specimens entering it in the identification boxes. Even though space is provided for three bacterial identifications, this does not necessarily mean three microorganisms are present.
Report only one answer code for each organism identified – i.e., do not report both Gram negative bacilli and E. coli.
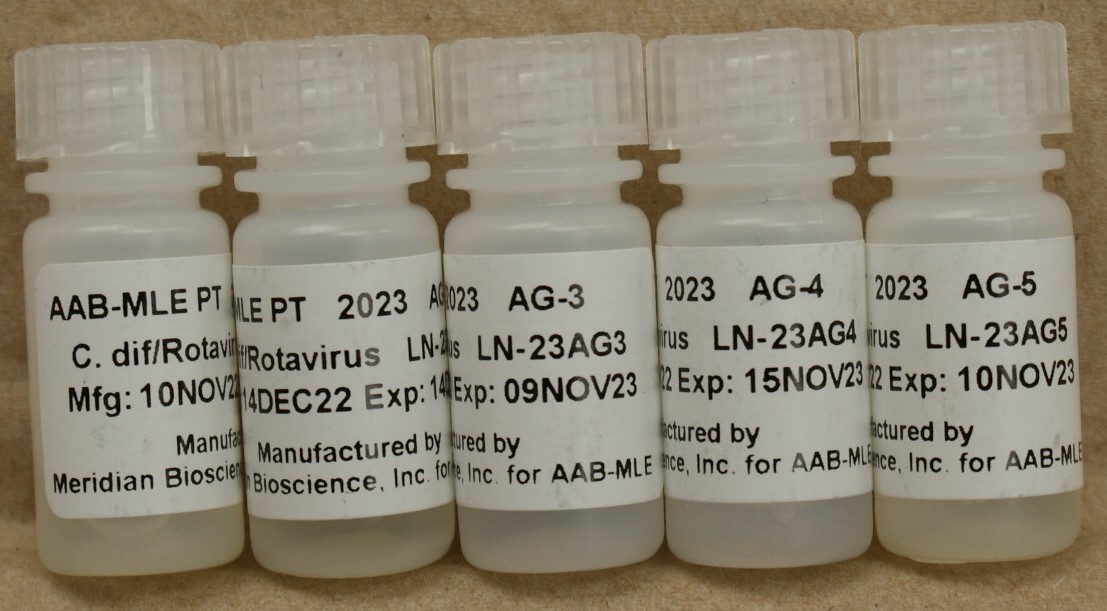
Instructions: AG Specimens
(682 C. difficile/Rotavirus Antigen Detection)
1. C. difficile/Rotavirus Antigen Detection samples are plastic screw-cap vials containing a liquid suspension. Invert the sample several times or
vortex each vial to mix thoroughly before opening. Holding the vial in an upright position, gently tap the plastic screw cap to ensure that all of the
sample is removed. Carefully remove the cap.
2. If a swab is routinely used in your lab, inoculate the swab for 5-10 seconds by inserting it into the vial.
Meridian Immunocard Rotavirus kit users: You must run these samples in the same manner as your positive control.False negatives may occur if you do not follow the positive control procedure.
BioMerieux Vidas, Mini Vidas users: You must run these samples in the same manner as your control material.
3. Using an appropriate antigen detection kit, test the samples/inoculated swabs as you would a test patient specimen.
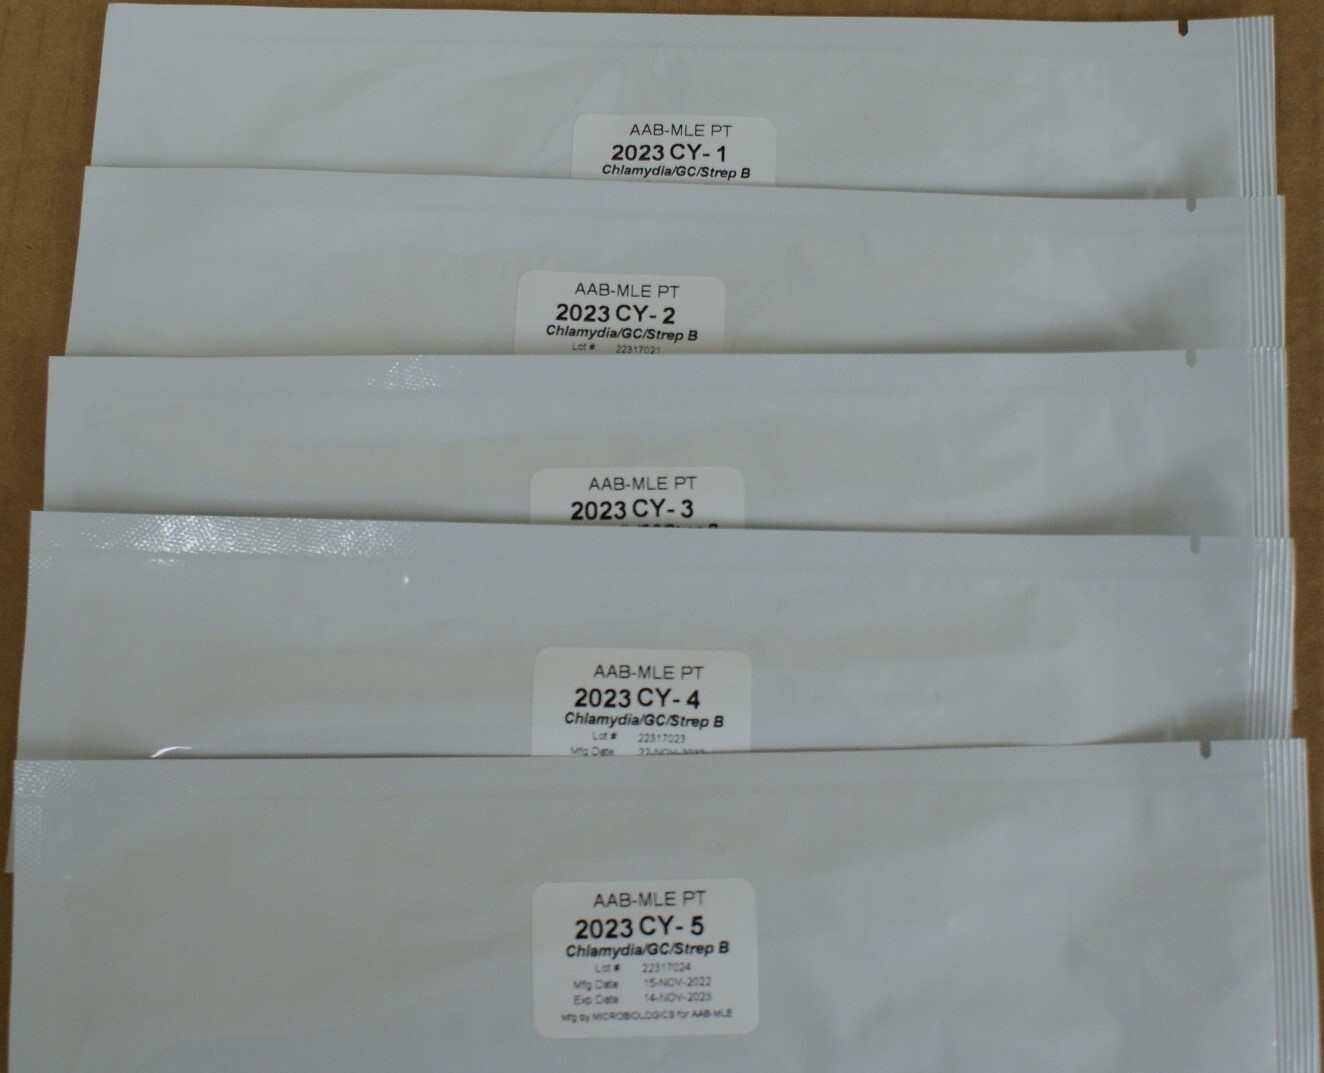
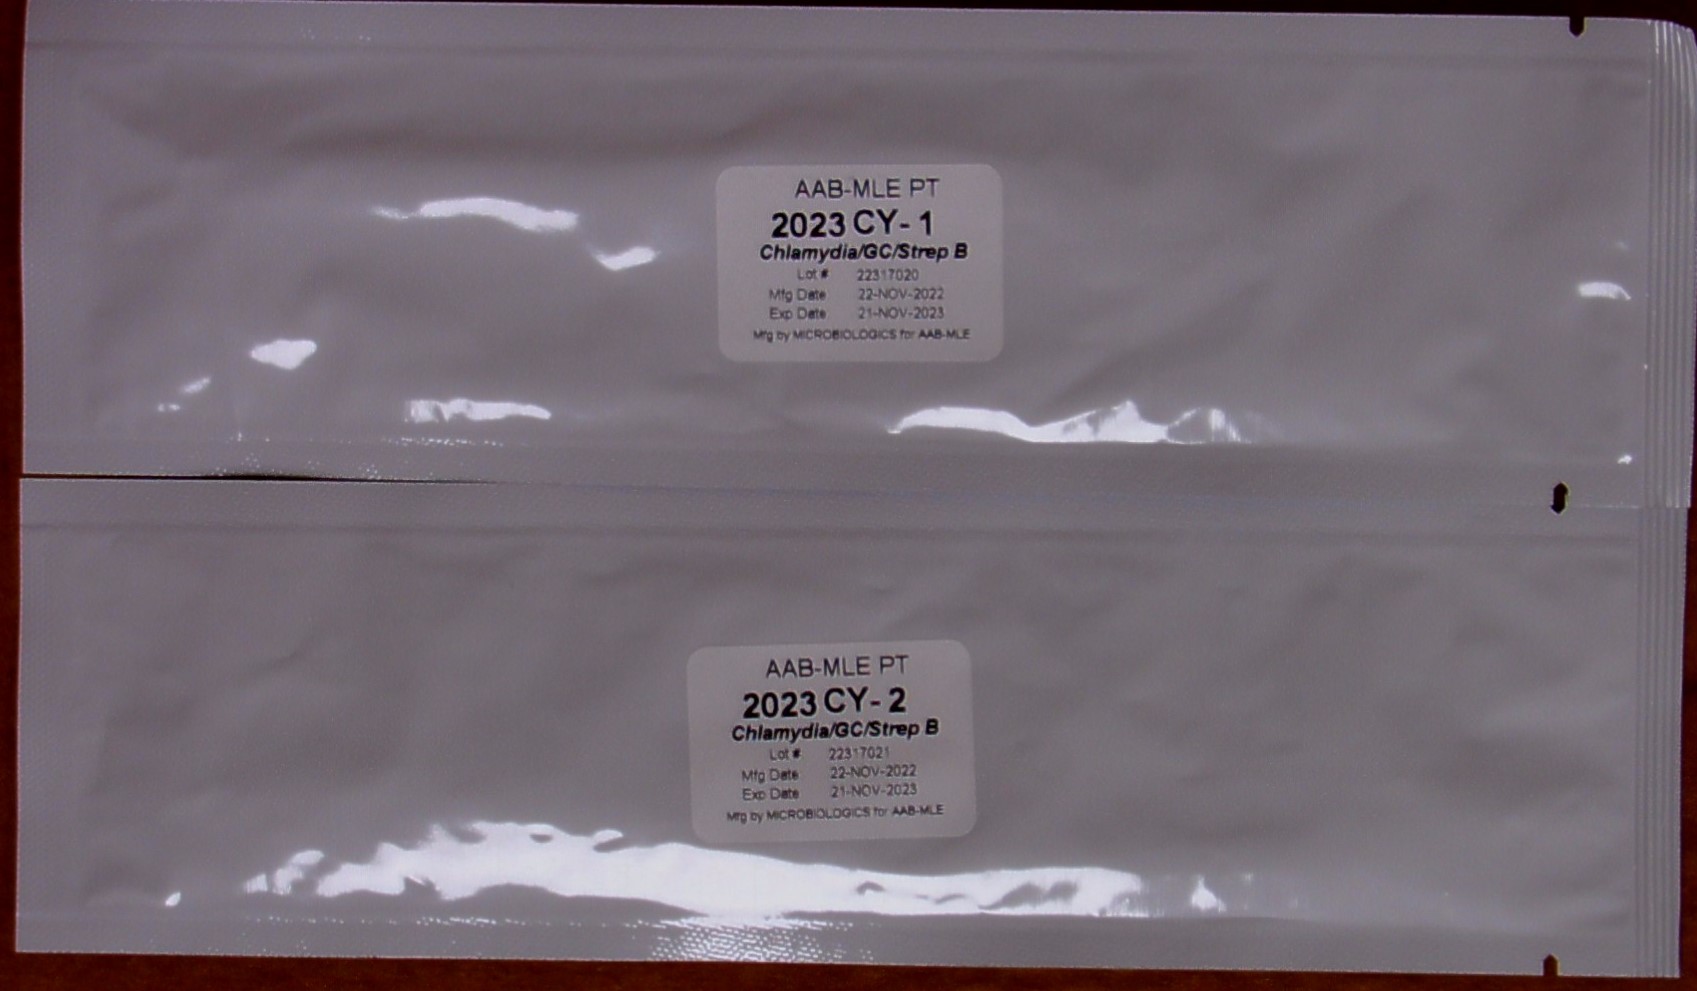
Instructions: CY Specimens
(675 Chlamydia/GC/Strep B Antigen Screen)
(673 Chlamydia/GC/Strep B – Add-On)
CAUTION: Etiologic agents that may be present in these specimens have been treated to render them non-infectious. However, because no
method can offer complete assurance that all organisms are non-viable, handle specimens as if capable of transmitting disease.
Dispose of the specimens in the same manner as patient samples.
The CY specimens contain duplicate pretreated swabs and can be tested for Chlamydia trachomatis, Streptococcus agalactiae (Group B) and/or Neiserria gonorrhoeae.
NOTE: The swabs inside the foil pouches are unlabeled. Be sure to process one specimen at a time in order to avoid confusion.
1. Although the case histories state the patients are female, treat the samples as you would any patient, male or female.
2. Remove specimens from the refrigerator and allow them to come to room temperature (20-25°C).
3. Remove one swab from the foil pouch for each test performed (i.e., one for chlamydia and one for GC if applicable). Avoid touching the swab tip.
4. Insert the swabs into the appropriate transport media tubes provided by your testing kit manufacturer as you would a patient sample.
5. If your transport tube contains liquid: Dissolve the lyophilized material from the specimen swab into the liquid by swirling the swab from side to
side and up and down. Cap the tube and allow the swabs to remain in the liquid for at least 1 hour but no more than 24 hours before processing.
If your transport tube does not contain liquid: You must first add the appropriate extraction reagent provided by your kit manufacturer before
attempting to proceed with testing. Once the extraction reagent has been added, you may swirl the swab from side to side and up and down to
dissolve the lyophilized material. Cap the tube and allow the swabs to remain in the liquid for at least 1 hour but no more than 24 hours before
processing.
6. Mix vigorously for 10-15 seconds and express liquid from the swab before discarding.
7. Process each specimen as you would a patient specimen. Follow your manufacturer’s recommended procedure.
Instructions: GS Specimens
CAUTION: These PT samples may contain pathogen(s) or potential pathogen(s). Handle with care. Dispose of the specimens in the same
manner as patient samples.
Store specimens at room temperature (15-30°C) until you are ready to begin testing. Remove each slide from the cassette and verify that each slide
has an identification number. As the slides are methanol-fixed, you may proceed with your Gram staining procedure.
Note: Each slide is intended to be from a pure culture; however, if you observe more than one organism, report the Gram stain reaction and morphology of the
predominant organism.
Gram Stain Educational Example

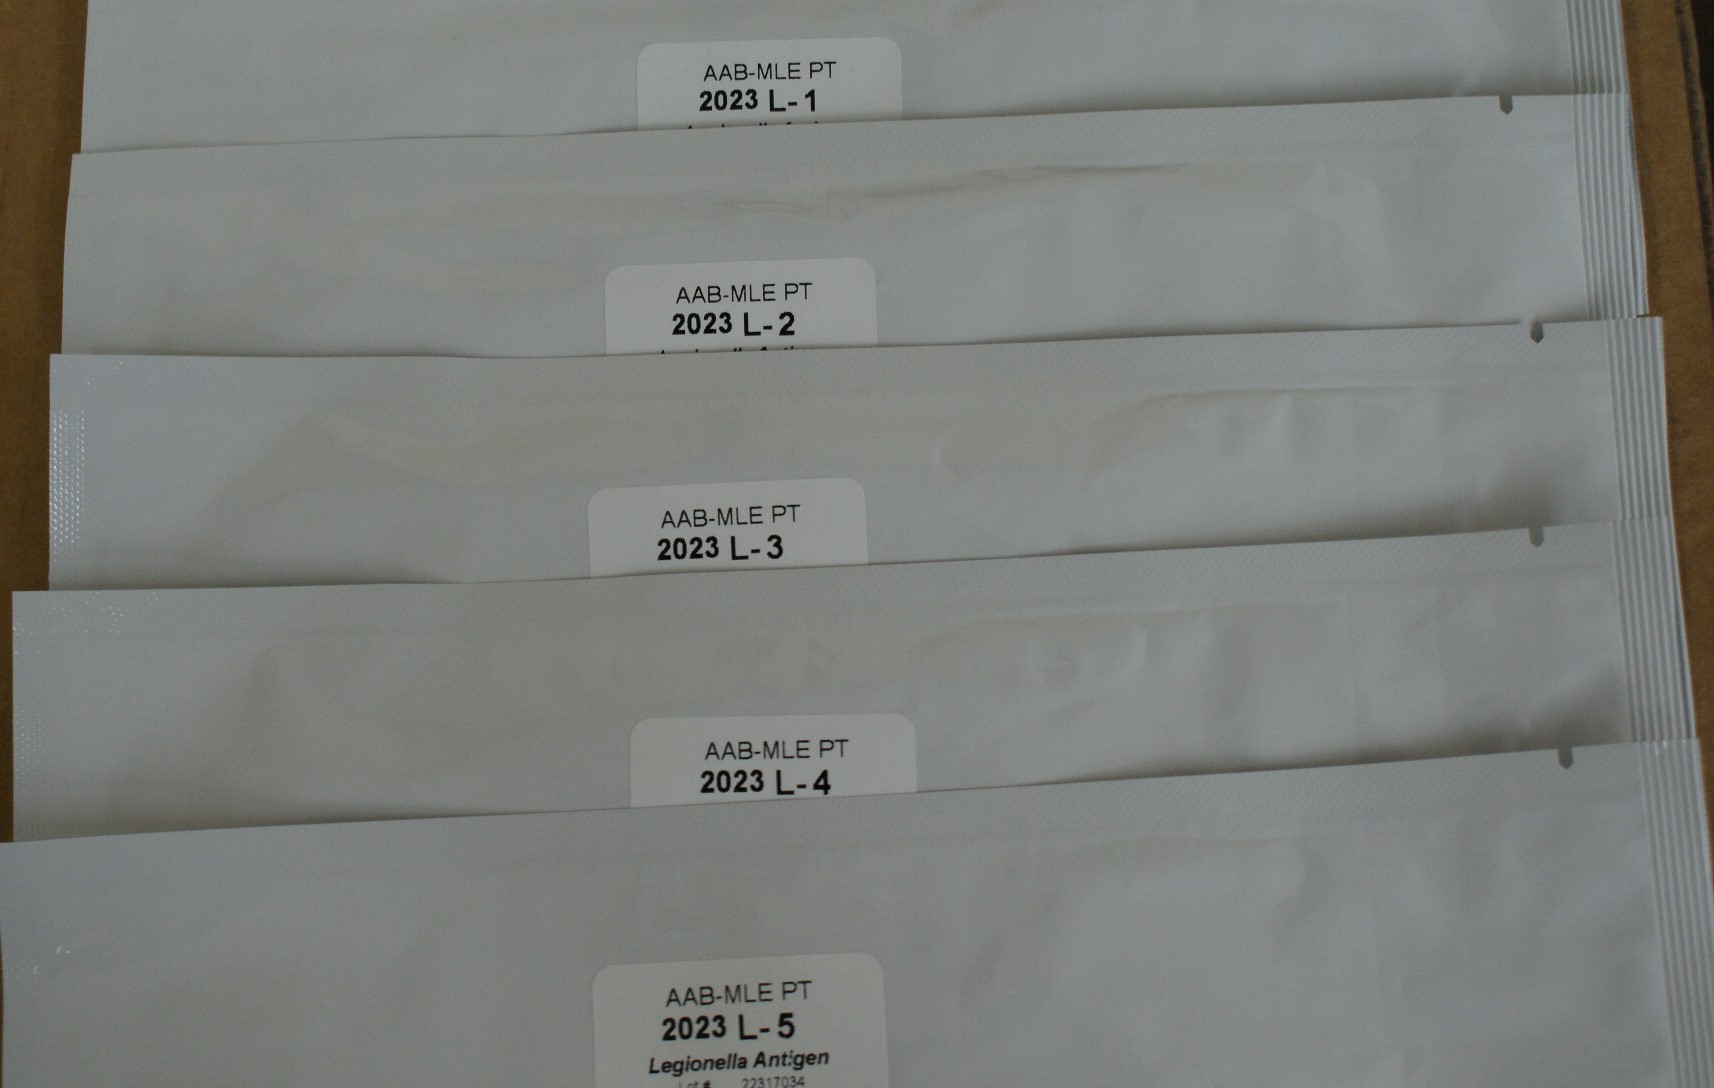
Instructions: L Specimens
(686 Legionella Antigen Detection)
The Legionella Antigen Detection samples are pretreated swabs.
1. Remove specimens from the refrigerator and allow them to come to room temperature (20-25°C). Be sure to keep the swabs in the foil pouch until they reach room temperature. Remove the test device from the foil pouch just before use.
2. There are two holes on the inner right panel of the device. Insert the specimen swab into the bottom hole.Firmly push upwards so that the swab tip is fully visible in the top hole. Do not remove the swab.
3. Hold Reagent A vial vertically, 1 to 1½ inches above the test device. Slowly add six (6) drops of Reagent A to the BOTTOM hole.
NOTE: An Invalid result may occur if an insufficient volume of Reagent A is added to the test device. Be sure to hold the reagent vial vertically and add the drops slowly.
4. Peel off the adhesive liner from the right edge of the test device. Close and securely seal the test device.
5. Time the reaction for exactly 15 minutes and then read the results in the result window
Instructions: SP Specimens
(687 Streptococcus pneumoniae Antigen Detection)
The Streptococcus pneumoniae Antigen Detection samples are pretreated swabs.
1. Remove specimens from the refrigerator and allow them to come to room temperature (20-25°C). Be sure to keep the swabs in the foil pouch until
they reach room temperature. Remove the test device from the foil pouch just before use.
2. There are two holes on the inner right panel of the device. Insert the specimen swab into the BOTTOM hole. Firmly push upwards to that the swab tip if fully visible in the TOP hole. Do not remove the swab.
3. Hold Reagent A vial vertically, 1 to 1½ inches above the test device. Slowly add six (6) drops of Reagen A to the BOTTOM hole. NOTE: An invalid result my occur if an insufficient volume of Reagent A is added to the test device. Be sure to hold the reagent vial vertically and add the drops slowly.
4. Peel off the adhesive liner from the right edge of the test device. Close and securely seal the test device.
5. Time the reaction for exactly 15 minutes and then read the results in the result window

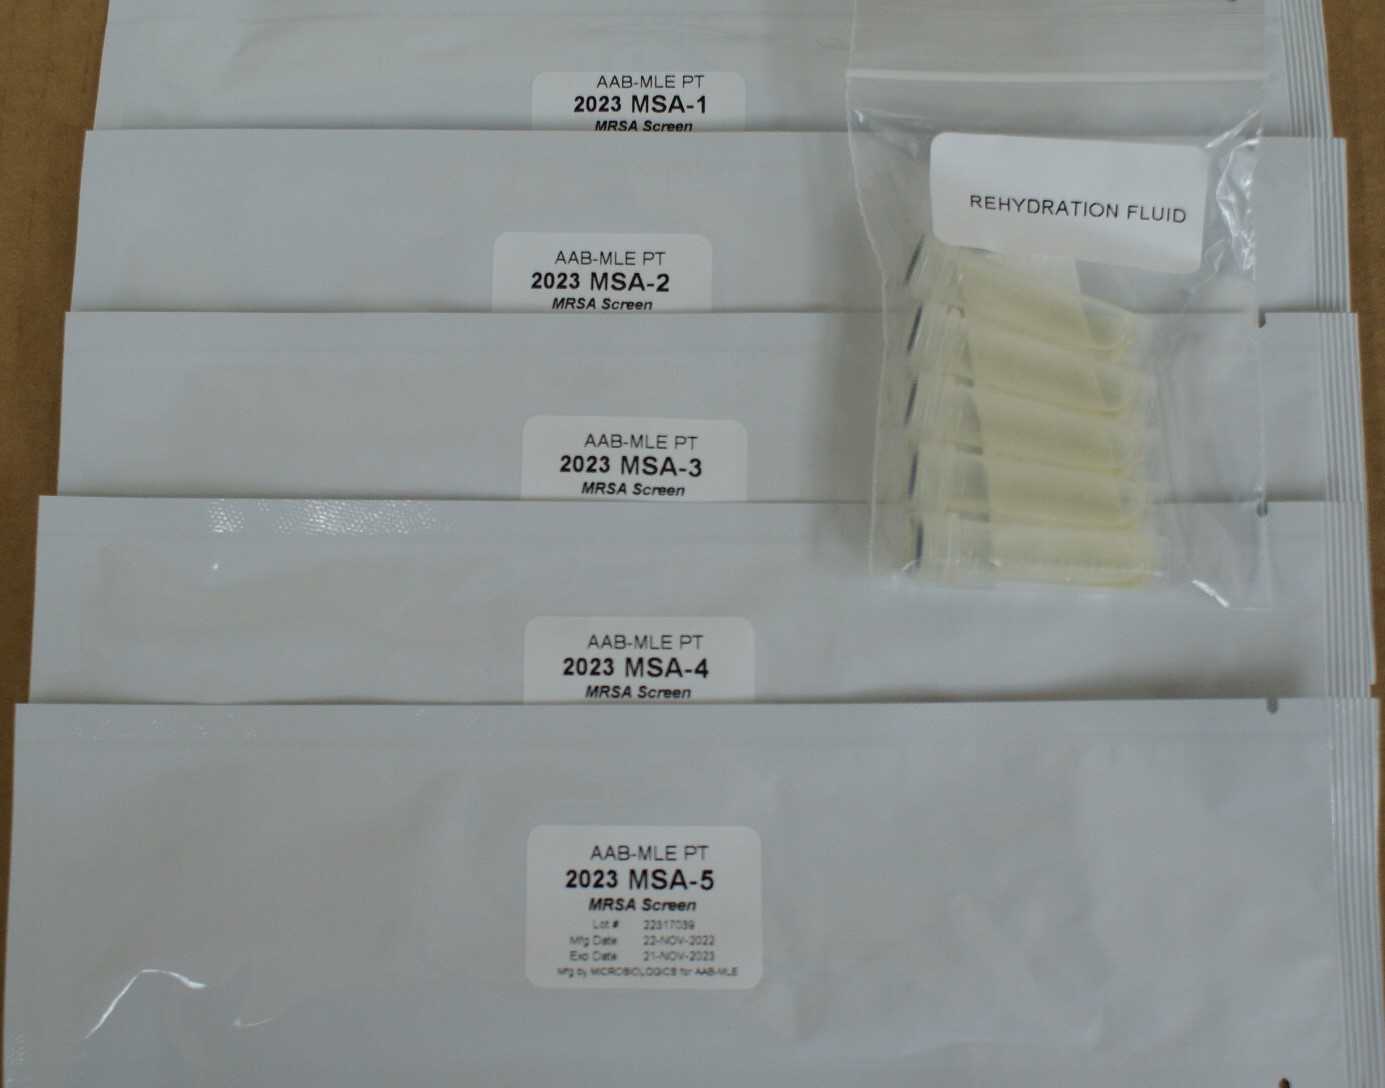
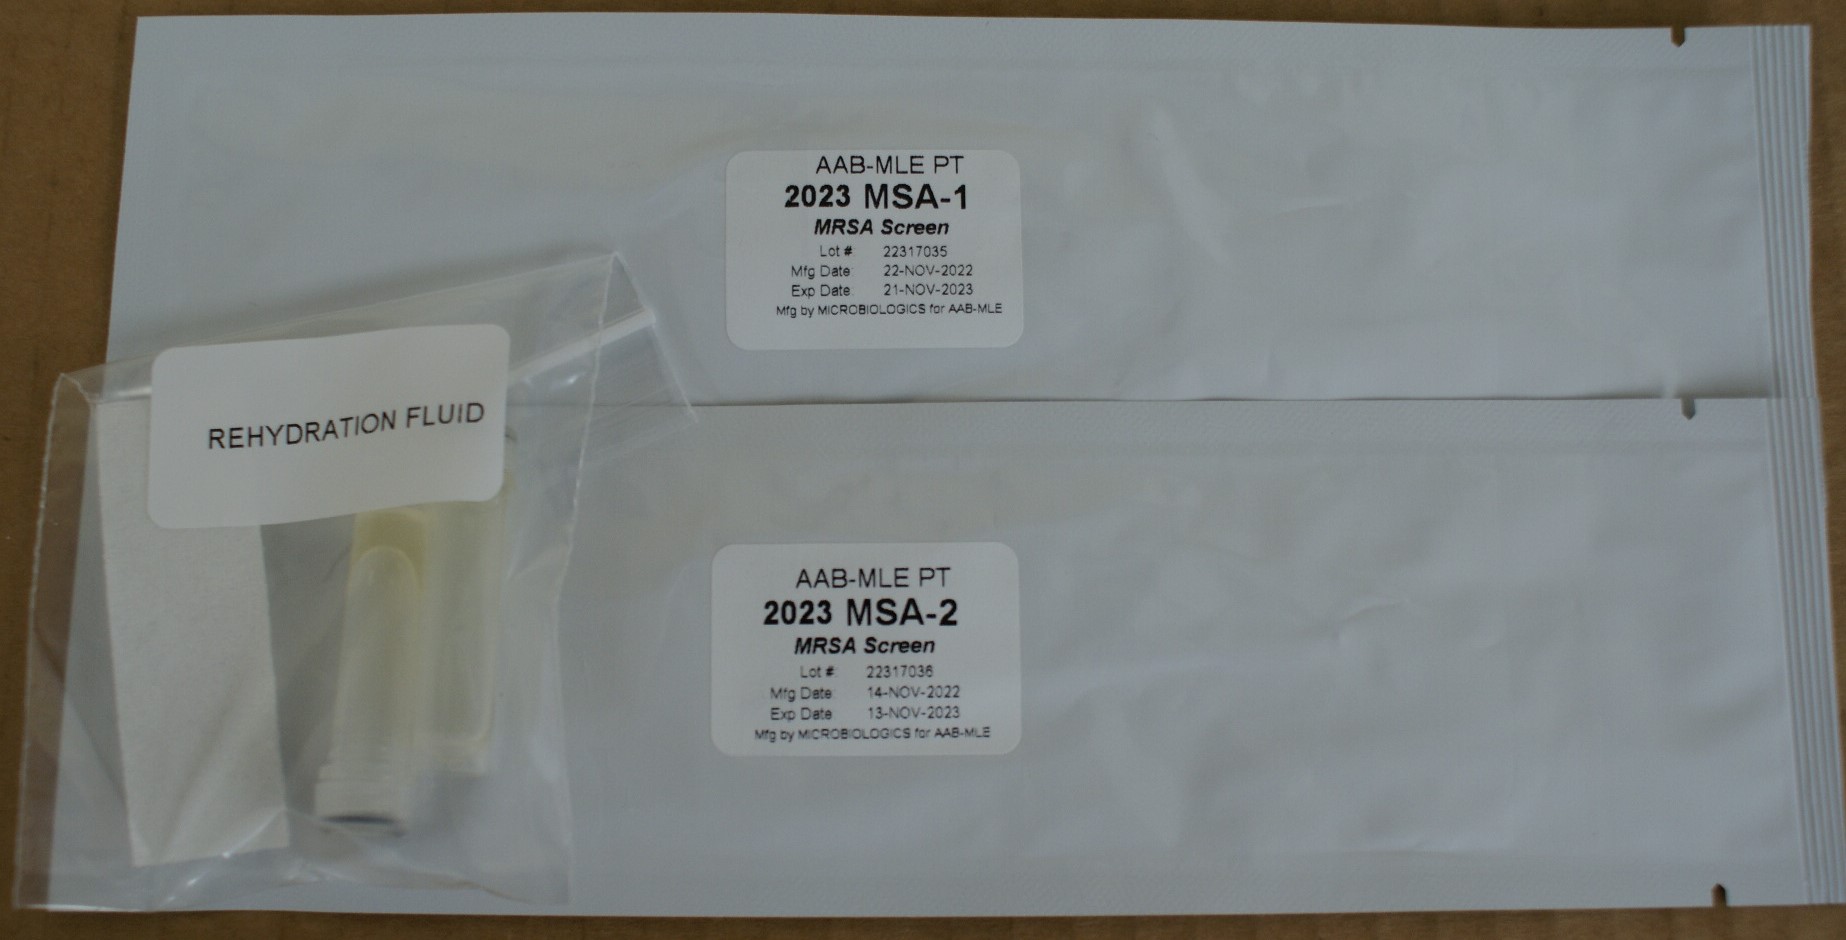
Instructions: MSA Specimens
CAUTION: These PT specimens may contain pathogen(s) or potential pathogen(s). Handle with care.
Each foil pouch consists of 1 swab containing viable lyophilized microorganisms and a rehydration fluid for activation of the organism(s) prior to use for
culture only. Note: the rehydrating fluid vials are NOT labeled. The rehydrating fluid is not specimen specific; therefore, you may
use any of the vials provided to rehydrate your specimens. We recommend you label the rehydrating vial prior to use to avoid confusion.
For Culture Methods:
1. Warm an appropriate amount of media, one specimen swab and one vial of rehydrating fluid to room temperature (20-25°C) for each specimen tested.
2. Remove swab from foil pouch and submerge the swab portion into the fluid. Allow approximately 10 seconds for the lyophilized specimen to liquefy
while mixing and swirling the swab gently.
3. Once the swab is saturated, inoculate your media directly with the swab. Continue by following the procedures and methods used in your lab to
determine if the sample is positive or negative for Methicillin-resistant Staphylococcus aureus.
For PCR Methods:
1. Follow your kit’s manufacturer instructions for extraction steps. DO NOT use the rehydration vial provided.
2. Proceed with testing as you would a routine patient to determine if the sample is positive or negative for Methicillin-resistant Staphylococcus aureus.
Instructions: SHG Specimens
The Shiga Toxin samples are vials containing 200 µL lyophilized liquid suspension.
1. Remove specimens from the refrigerator and allow them to come to room temperature (20-25°C). This should take about 10-15 minutes.
2. Using a micropipette, add 200 uL of sterile water to the vial of lyophilized material.
3. Gently swirl the vial to dissolve the contents of the vial, allowing approximately 30 seconds for the material to completely dissolve.
4. After the sample has completely dissolved, mix each vial by gently inverting 5-10 times to ensure sample homogeneity.
5. Test the sample in the same manner as you would test a patient sample.

Instructions: RS Specimens
(660 Strep A Antigen Detection)
(662 Strep A Antigen Detection – Waived) Return to PPM Package
CAUTION: Etiologic agents that may be present in these specimens have been treated to render them non-infectious. However, because no method can offer complete assurance that all organisms are non-viable, handle specimens as if capable of transmitting disease.
Dispose of the specimens in the same manner as patient samples.
1. Rapid Strep A antigen detection specimens are pretreated swabs. These specimens are not suitable for growth on agar plates.
2. Using a direct rapid strep antigen detection kit, test each specimen as if the swab was obtained directly from a patient throat.

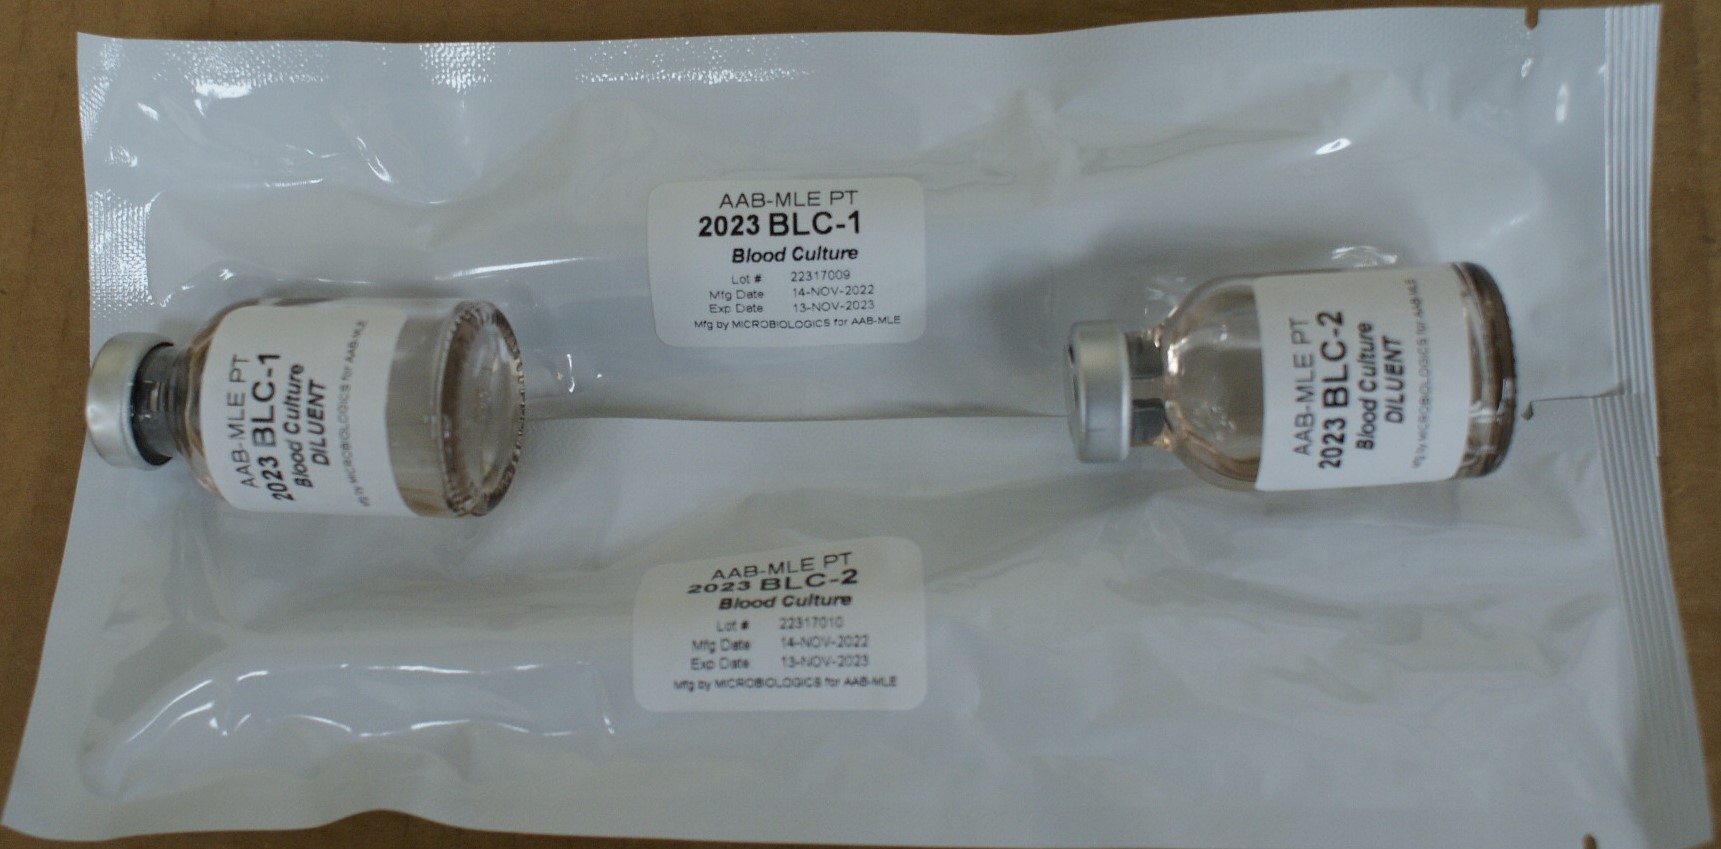
Instructions: BLC Specimens
(694 Supplemental Blood Culture)
CAUTION: These PT specimens may contain pathogen(s) or potential pathogen(s). Handle with care. Do not create aerosols.
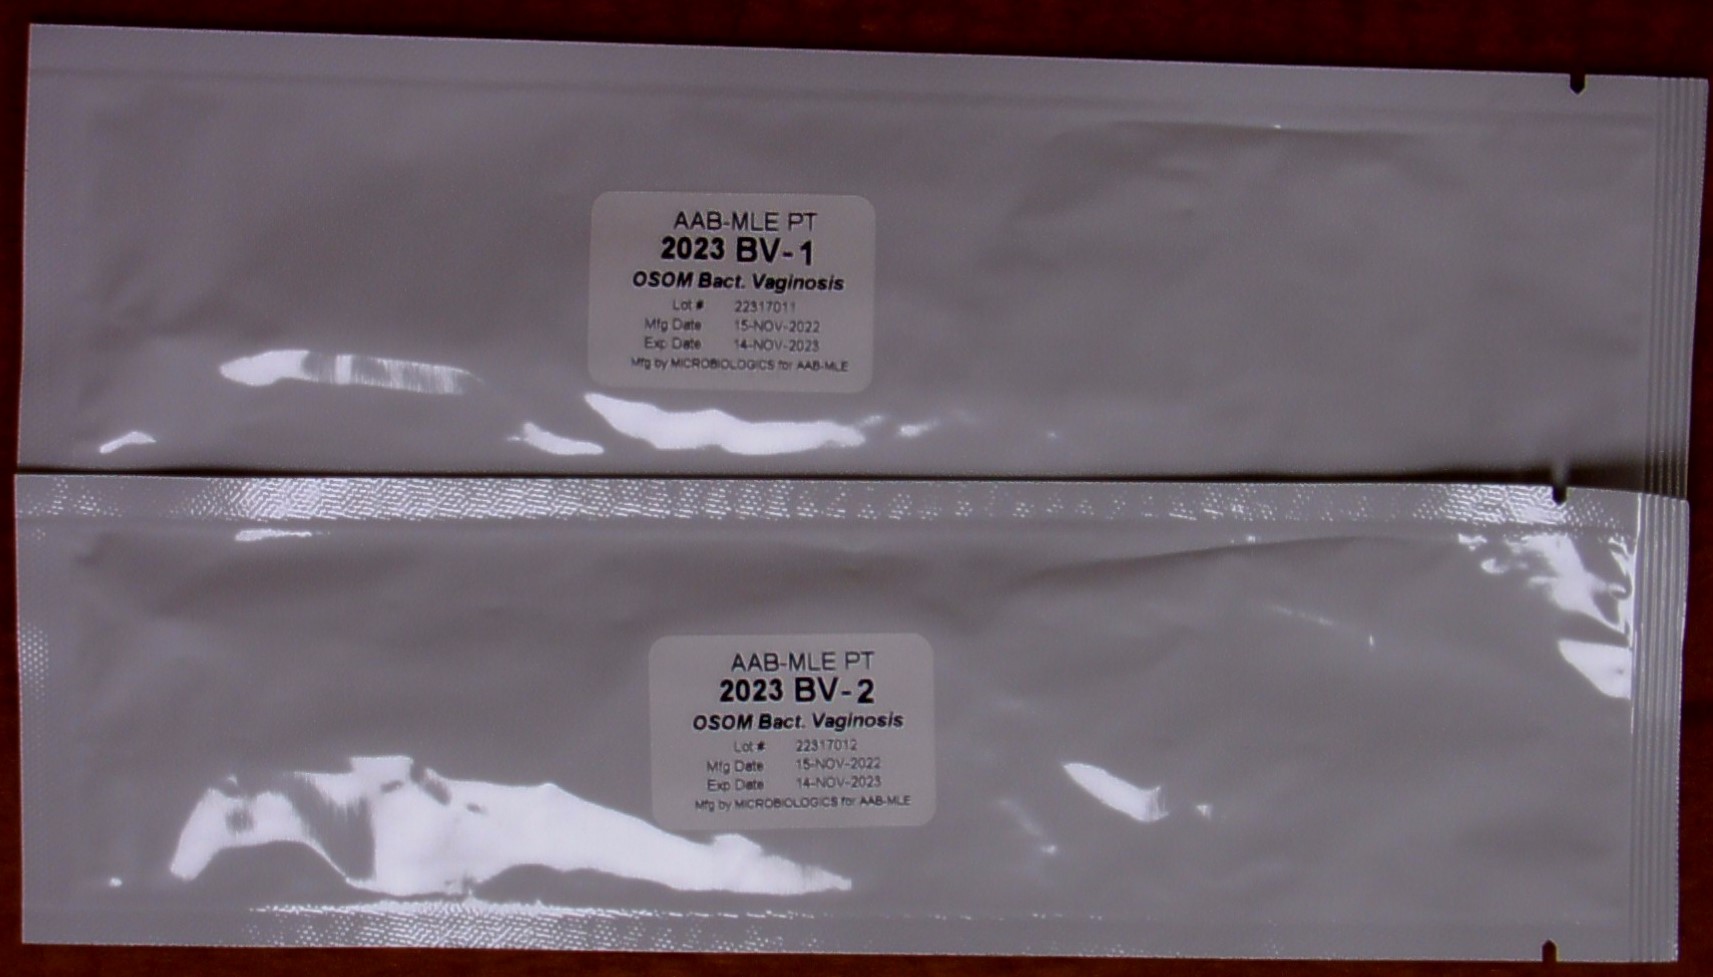
Instructions: BV Specimens
(692 OSOM Bacterial Vaginosis – Waived)
CAUTION: These PT specimens may contain pathogens or potential pathogens. Handle with care.
1. Remove specimens from the refrigerator and allow them to come to room temperature (20-25°C).
2. Remove the swab from the foil pouch. Avoid touching the tip.
3. Process each specimen as you would a patient specimen. Follow your manufacturer’s recommended procedure.
Instructions: TR Specimens
(693 Trichomonas vaginalis – Waived)
CAUTION: These PT specimens may contain pathogens or potential pathogens. Handle with care.
1. Remove specimens from the refrigerator and allow them to come to room temperature (20-25°C).
2. Remove the swab from the foil pouch. Avoid touching the tip.
3. Process each specimen as you would a patient specimen. Follow your manufacturer’s recommended procedure.

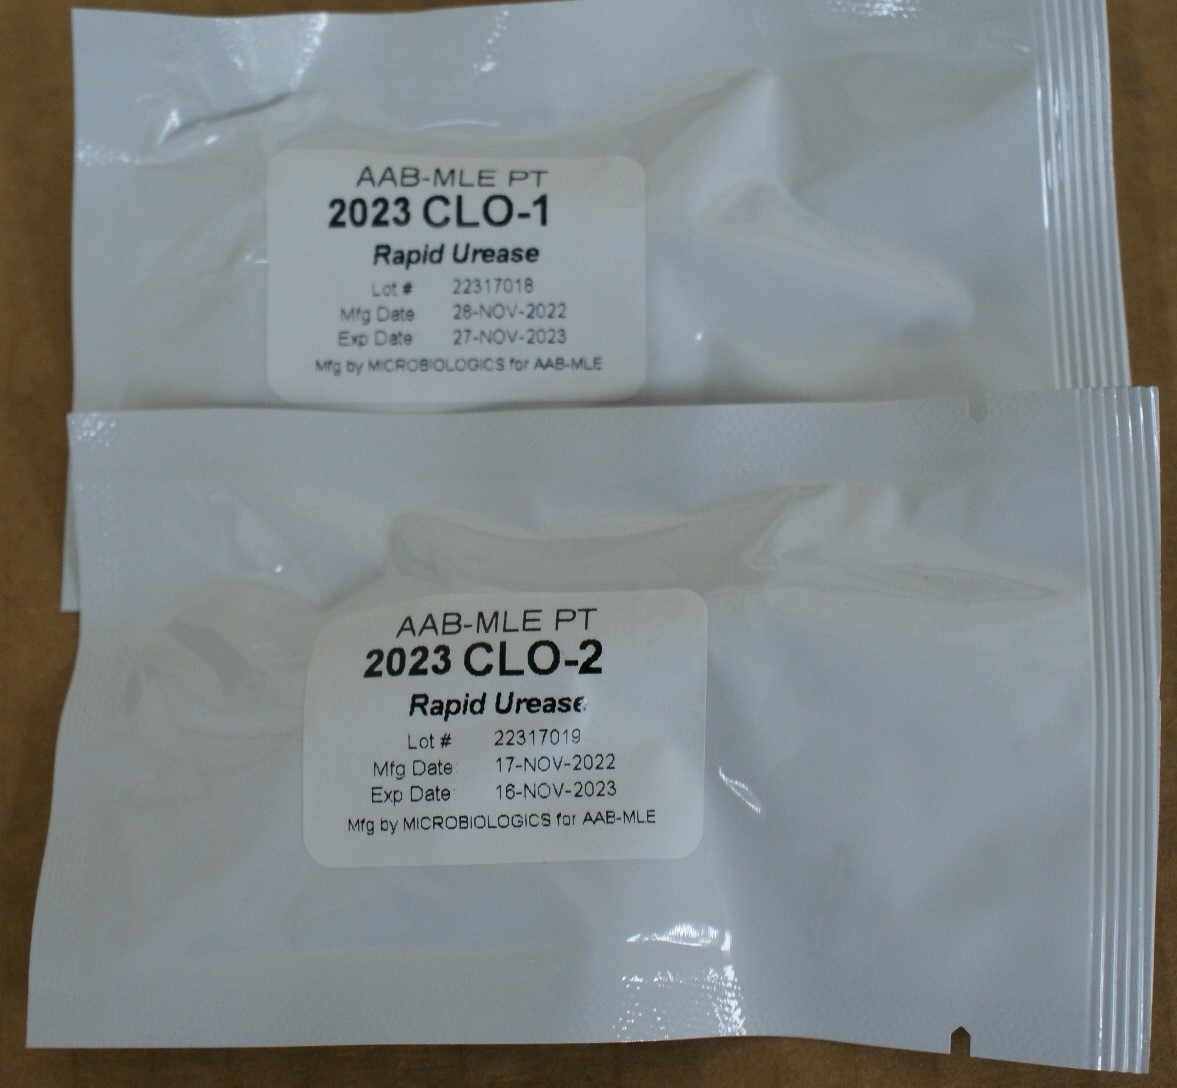
Instructions: CLO Specimens
CAUTION: These PT specimens may contain pathogens or potential pathogens. Handle with care.
1. Remove specimens from the refrigerator and allow them to come to room temperature (20-25°C).
2. Remove the filter paper disks saturated with Urease positive and negative organisms to simulate a tissue sample. It should be compatible with all Rapid Urease based detection methods.
3. Process each specimen as you would a patient specimen. Follow your manufacturer’s recommended procedure.
4. For gel methods, use sterile forceps to press the disk into the gel just as you would for a normal tissue sample.
Instructions: VP Specimens
CAUTION: Etiologic agents that may be present in these specimens have been treated to render them non-infectious. However, because no
method can offer complete assurance that all organisms are non-viable, handle specimens as if capable of transmitting disease.
Dispose of the specimens in the same manner as patient samples.
1. Remove swab specimens and/or reagents from the refrigerator and allow them to come to room temperature (20-25°C) for a minimum of
30 minutes. Be sure to mix your Buffer Solution for 10 to 15 seconds until any precipitate is dissolved.
2. Open the foil pouch at the tear slit. Remove the swab and place it into the specimen collection tube supplied by the kit manufacturer. After adding the
appropriate amount of lysis solution, mix the swab in the tube by vigorously swirling and moving it up and down against the side of the tube for at
least 10 seconds.
NOTE: Do not snap off or cut the shaft of the swab to fit the tube. It is not necessary to cap the collection tube during incubation.
3. Upon removal from the lysis block, mix the swab in the tube by vigorously swirling and moving it up and down against the side of the tube for at least
10 seconds.
4. Add appropriate amount of buffer solution to the tube containing the swab. Mix vigorously and then as the swab is removed from the tube express out
as much liquid as possible by squeezing the tube around the swab.
5. After sample preparation, perform the automated testing according to the manufacturer’s recommended instructions

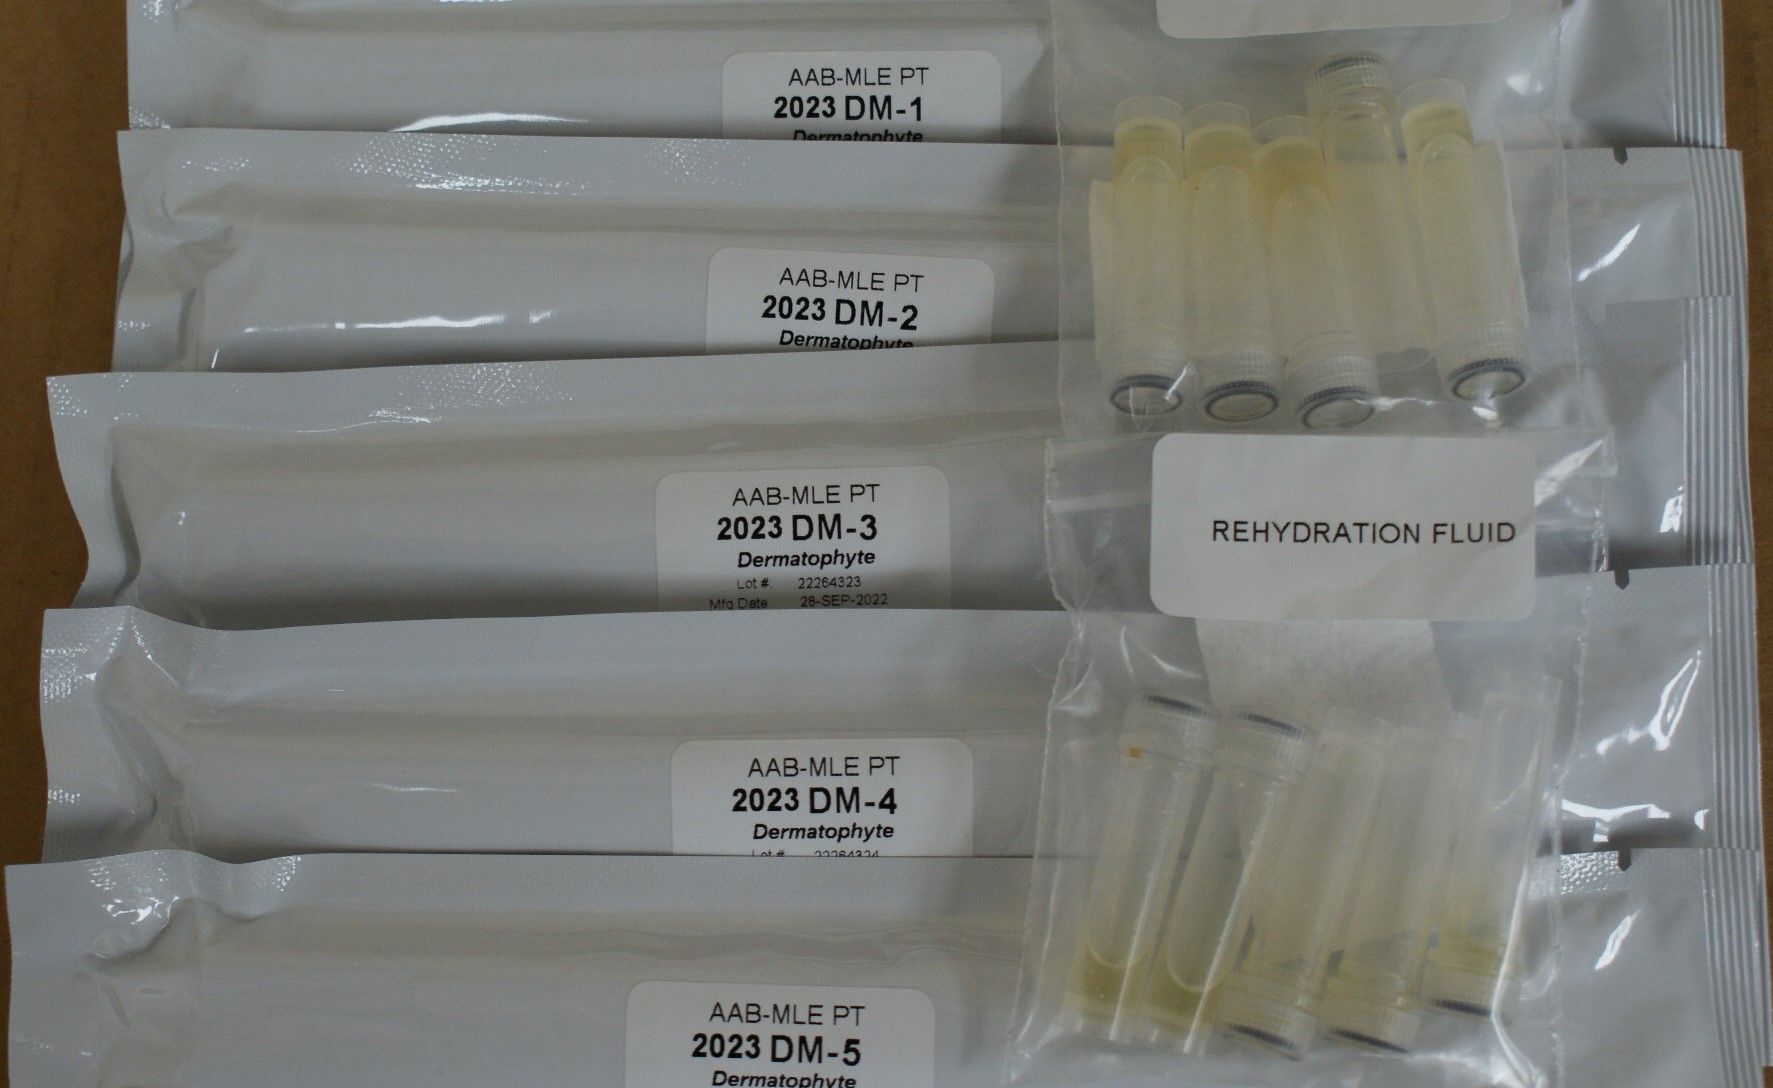
Instructions: DM Specimens
CAUTION: These PT specimens may contain pathogen(s) or potential pathogen(s). Handle with care.
Each INOCU-SWAB IITM dermatophyte culture consists of 2 swabs containing viable lyophilized microorganisms in a foil pouch and rehydration fluid for
activation of the organism(s) prior to use. Note: The rehydrating fluid vials are NOT labeled. The rehydrating fluid is not specimen specific; therefore, you may use any of the vials provided to rehydrate your specimens. We recommend you label the rehydrating vial prior to use to avoid confusion.
Follow these steps to rehydrate each INOCU-SWAB IITM specimen before culturing. It will be helpful to refer to those pictures.
1. Warm an appropriate amount of media, one specimen swab and one vial of rehydrating fluid to room temperature (20-25°C) for each specimen
tested. Store the second swab and extra rehydrating fluid vials in the refrigerator in case repeat testing is necessary.
2. Holding the specimen by the red cap, remove swab from plastic tube.
3. Open a rehydration vial and submerge the swab portion into the fluid. Allow aproximately 10 seconds for the lyophilized specimen to liquefy while
mixing and swirling the swab gently.
4. Once the swab is saturated, inoculate your media directly with the swab. Continue by following the procedures and methods used in your lab to
identify the dermatophyte present in these specimens using the following codes.
671 Epidermophyton floccosum |
679 Trichophyton schoenleinii |
672 Epidermophyton sp. |
680 Trichophyton tonsurans |
673 Microsporum audouinii |
681 Trichophyton verrucosum |
674 Microsporum canis |
682 Trichophyton violaceum |
676 Microsporum sp. |
683 Trichophyton sp. |
684 Nannizzia gypsesa |
690 Positive (Dermatophytes present) |
685 Nannizzia sp. |
691 Negative (Dermatophytes absent) |
677 Trichophyton mentagrophytes |
692 No growth (sterile) |
678 Trichophyton rubrum |
CAUTION: These PT specimens may contain pathogen(s) or potential pathogen(s). Handle with care.
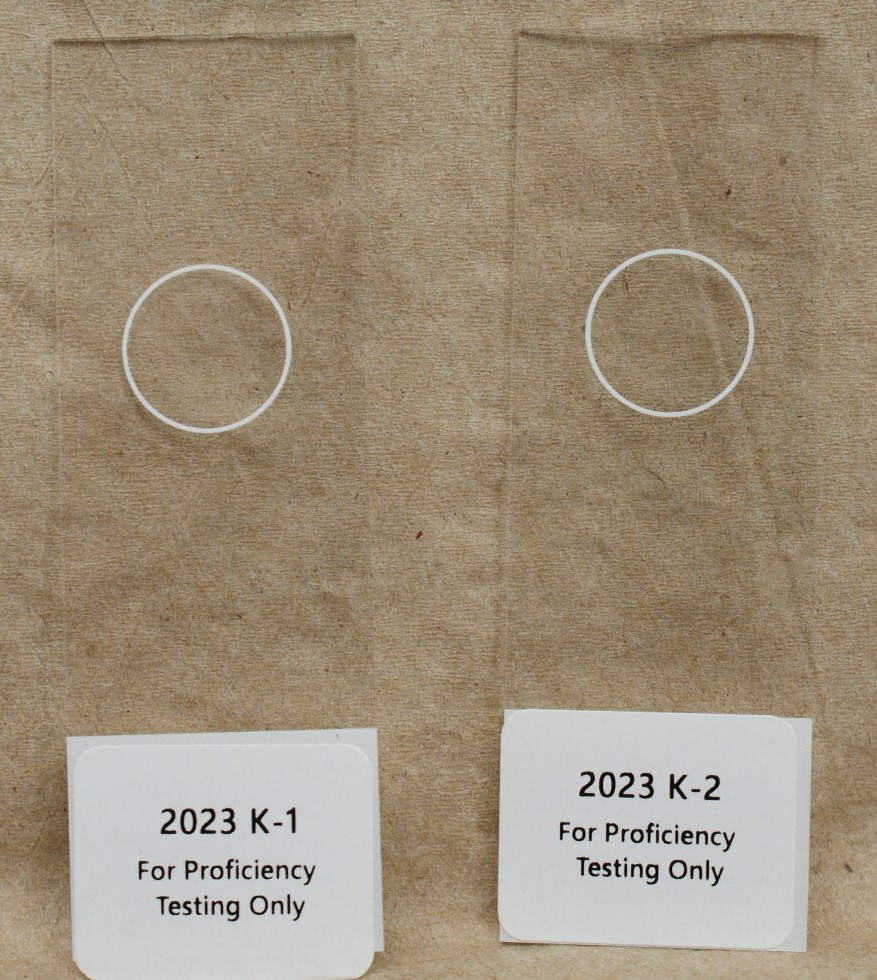
Instructions: K Specimens
CAUTION: These PT samples may contain pathogen(s) or potential pathogen(s). Handle with care. Dispose of the specimens in the same manner as patient samples.
1. Store specimens at room temperature (15-30°C) until you are ready to begin testing. Remove each slide from the cassette and verify that each slide has an identification number.
2. Test each specimen for the presence or absence of fungal elements as you would test a routine patient specimen by KOH prep on a glass slide.
3. Report each slide as code 10 Negative or code 11 Positive for the presence of fungal elements.
Instructions: LC Specimens
(683 Cryptosporidium/Giardia lamblia Antigen Detection)
CAUTION: Etiologic agents that may be present in these specimens have been treated to render them non-infectious. However, because no
method can offer complete assurance that all organisms are non-viable, handle specimens as if capable of transmitting disease.
Dispose of the specimens in the same manner as patient samples.
Cryptosporidium/Giardia lamblia Antigen Detection samples contain a liquid suspension.
1. Remove specimens from the refrigerator and allow them to come to room temperature (20-25°C). This should take about 10-15 minutes.
2. Mix each vial by inversion.
3. Using an appropriate antigen detection kit, test the samples as you would a test patient specimen.
4. After testing is completed, store the vials in the refrigerator until you receive the evaluation of your results. If needed, the samples then can be
re-tested.

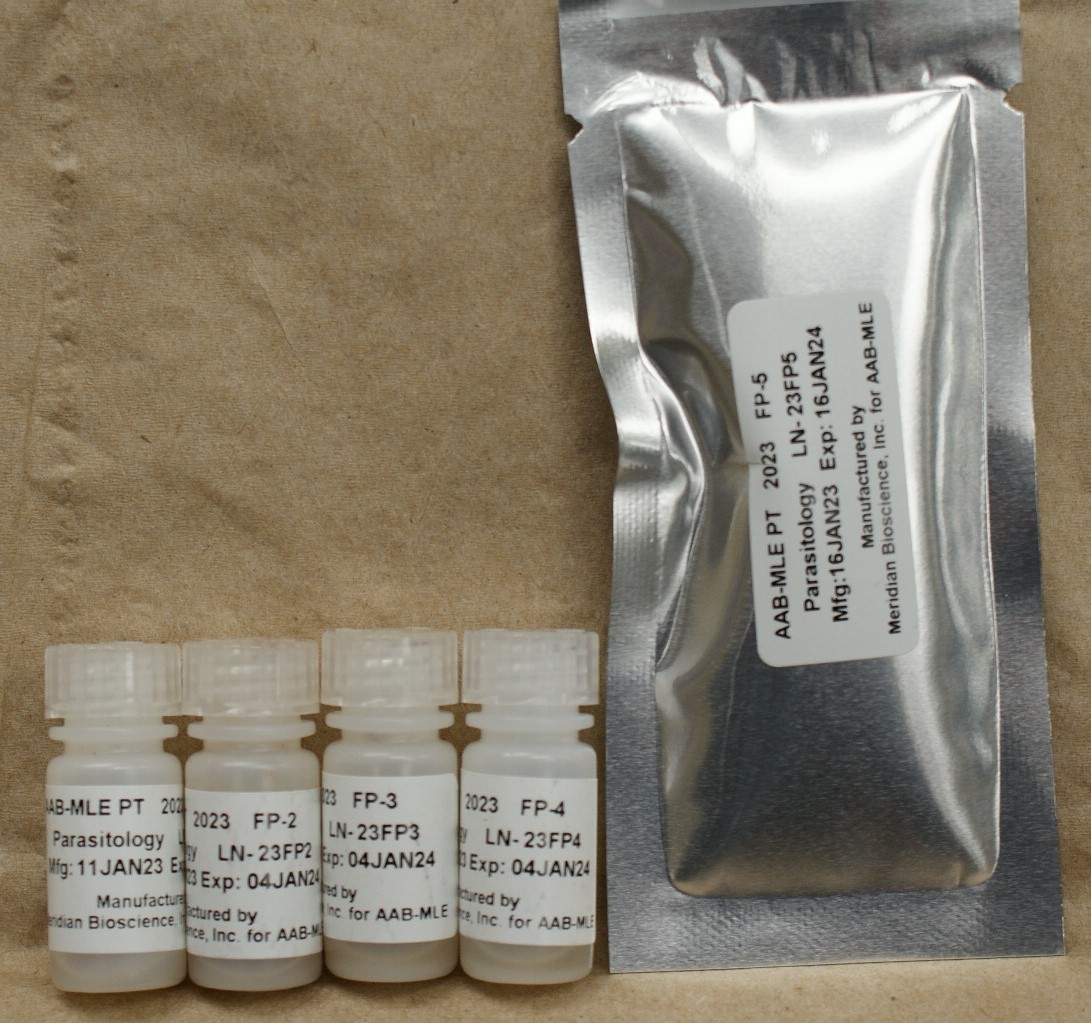
Instructions: FP and PA Specimens
CAUTION: Etiologic agents that may be present in these specimens have been treated to render them non-infectious. However, because no
method can offer complete assurance that all organisms are non-viable, handle specimens as if capable of transmitting disease.
Dispose of the specimens in the same manner as patient samples.
Fecal Suspension
Fecal suspensions are in 10% formalin for direct wet mount examination. Concentration techniques are not necessary.
1. Mix the entire contents of each vial before preparing your wet mounts. You should have enough material to make 10-15 coverslip
preparations.
2. Examine each specimen unstained and with iodine or other acceptable stains.
Blood Smear
Blood smears are Giemsa-stained blood films for the identification of blood parasites. No preparation is necessary.
PVA Smear
PVA smears are zinc polyvinyl alcohol (Zn PVA) fixed fecal smears. Check the sample label before processing. Stain each slide using your usual method
for demonstrating protozoa.
Be sure to label each slide as you remove it from the foil package. The slide itself will not come pre-labeled.
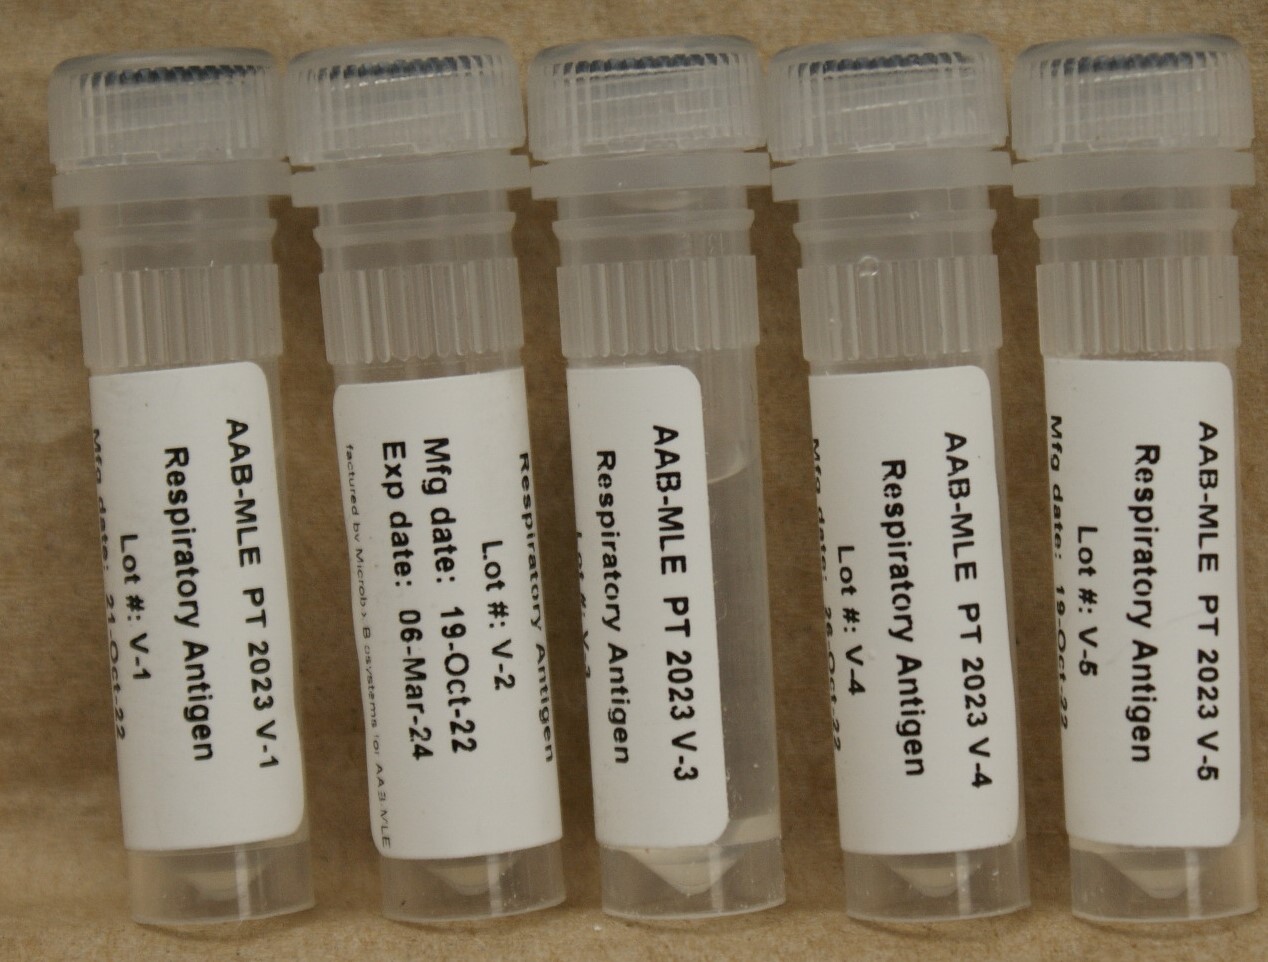
Instructions: V Specimens
(681 Respiratory Antigen Detection)
CAUTION: Etiologic agents that may be present in these specimens have been treated to render them non-infectious. However, because no
method can offer complete assurance that all organisms are non-viable, handle specimens as if capable of transmitting disease.
Dispose of the specimens in the same manner as patient samples.
Respiratory Antigen Detection samples contain a liquid suspension.
1. Remove specimens from the refrigerator and allow them to come to room temperature (20-25°C). This should take about 10-15 minutes.
2. Mix each vial by inversion.
3. Test each specimen as you would a nasal washing or aspirate.
BD Veritor users: Per the manufacturer, dip a sterile swab into the AAB-MLE Respiratory Antigen Detection liquid suspension. Treat
this antigen saturated swab as a patient sample and proceed with standard testing instructions. Use a separate, sterile swab for
each sample.
Sekisui OSOM Influenza A&B users: Call Sekisui Technical Support at 800-332-1042, option #3 for proficiency test procedure instructions.
4. After testing is completed, store the vials in the refrigerator until you receive the evaluation of your results. If needed, the samples then can be
re-tested.
Instructions: V Specimens
(680 Respiratory Antigen Detection - Waived)
CAUTION: Etiologic agents that may be present in these specimens have been treated to render them non-infectious. However, because no
method can offer complete assurance that all organisms are non-viable, handle specimens as if capable of transmitting disease.
Dispose of the specimens in the same manner as patient samples.
Respiratory Antigen Detection samples contain a liquid suspension.
1. Remove specimens from the refrigerator and allow them to come to room temperature (20-25°C). This should take about 10-15 minutes.
2. Mix each vial by inversion.
3. Test each specimen as you would a nasal washing or aspirate.
BD Veritor users: Per the manufacturer, dip a sterile swab into the AAB-MLE Respiratory Antigen Detection liquid suspension. Treat
this antigen saturated swab as a patient sample and proceed with standard testing instructions. Use a separate, sterile swab for
each sample.
Sekisui OSOM Influenza A&B users: Call Sekisui Technical Support at 800-332-1042, option #3 for proficiency test procedure instructions.
4. After testing is completed, store the vials in the refrigerator until you receive the evaluation of your results. If needed, the samples then can be
re-tested.

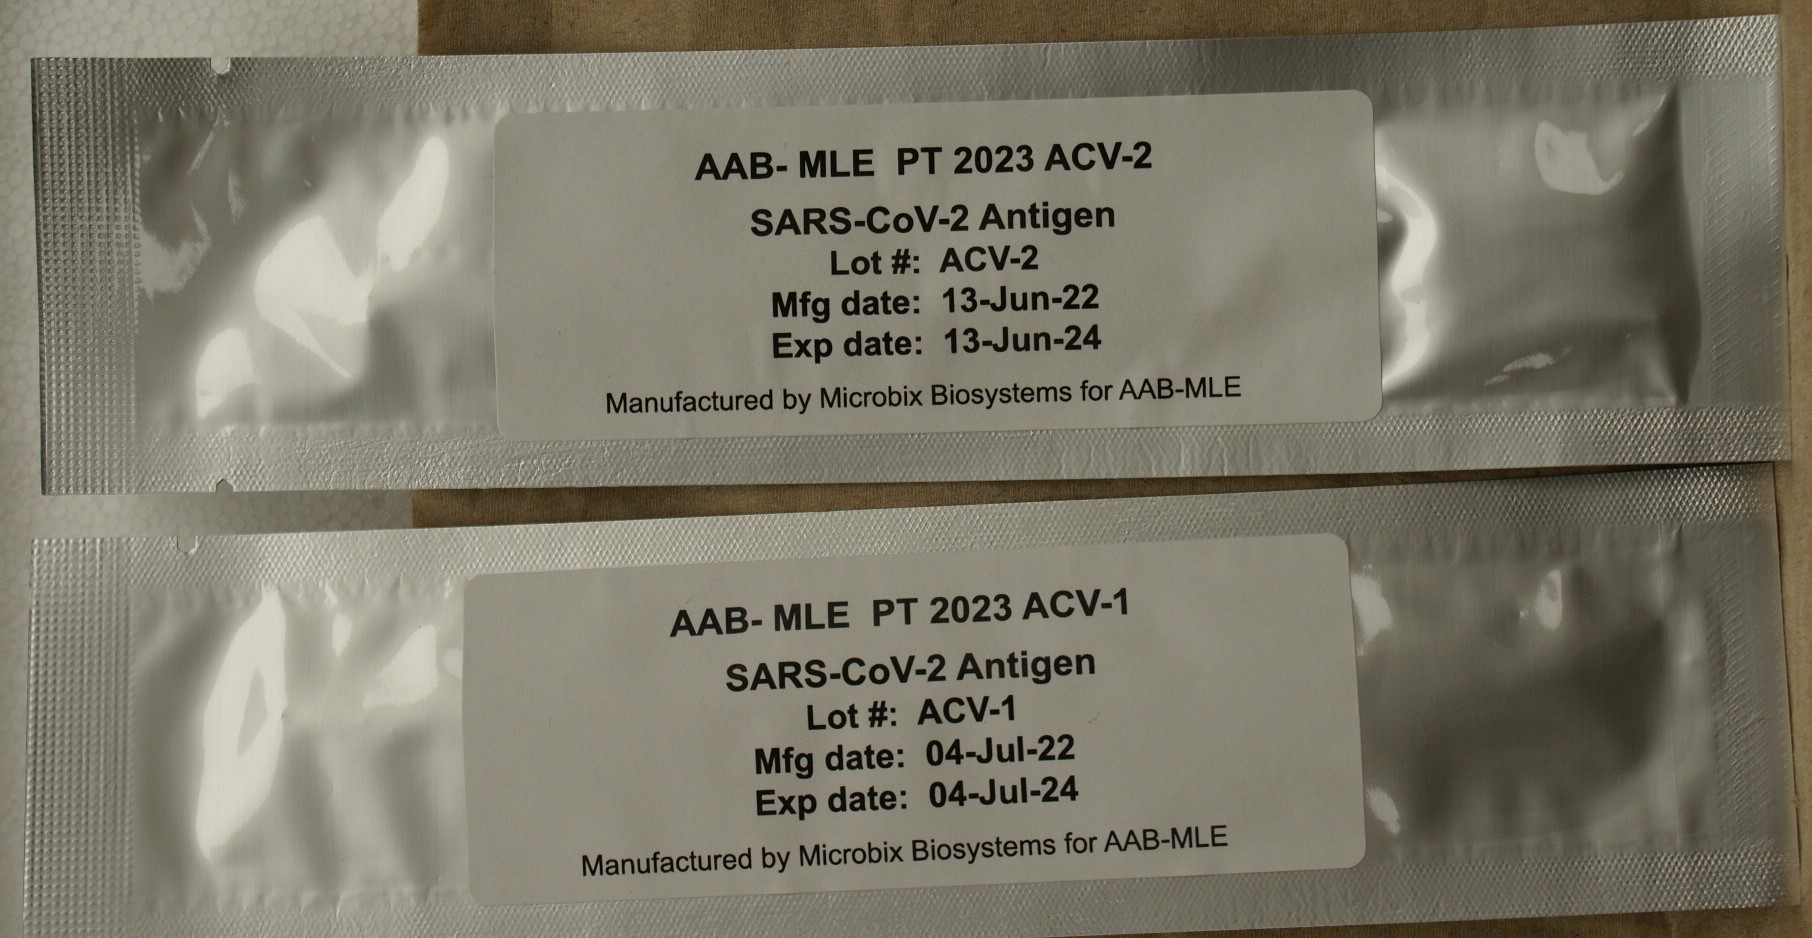
Instructions: ACV Specimens
(688 SARS-CoV-2 Antigen Waived/697 SARS-CoV-2 Antigen 5 Samples)
CAUTION: Etiologic agents that may be present in these specimens have been treated to render them non-infectious. However, because no method can offer complete assurance that all organisms are non-viable, handle specimens as if capable of transmitting disease. Dispose of the specimens in the same manner as patient samples.
1. Remove specimens from the refrigerator and allow them to come to room temperature (20-25°C).
2. Insert the swabs into the appropriate transport media tubes provided by your testing kit manufacturer as you would a patient sample.
3. If your transport tube contains liquid: Elute the desiccated material from the specimen swab into the liquid by swirling the swab from side to side and up and down. Cap the tube if possible and allow the swabs to remain in the liquid for about 1 minute. Proceed with step 4 after the incubation.
If your transport tube does not contain liquid: You must first add the appropriate extraction reagent provided by your kit manufacturer before
attempting to proceed with testing. You may substitute distilled water. Once the extraction reagent or distilled water has been added, you may swirl
the swab from side to side and up and down to dissolve the desiccated material. Cap the tube if possible and allow the swabs to remain in the liquid
for about 1 minute. Proceed with step 4 after the incubation.
4. Mix vigorously for 10-15 seconds and express liquid from the swab before discarding. Process each specimen as you would a patient specimen, following your manufacturer’s recommended procedure.
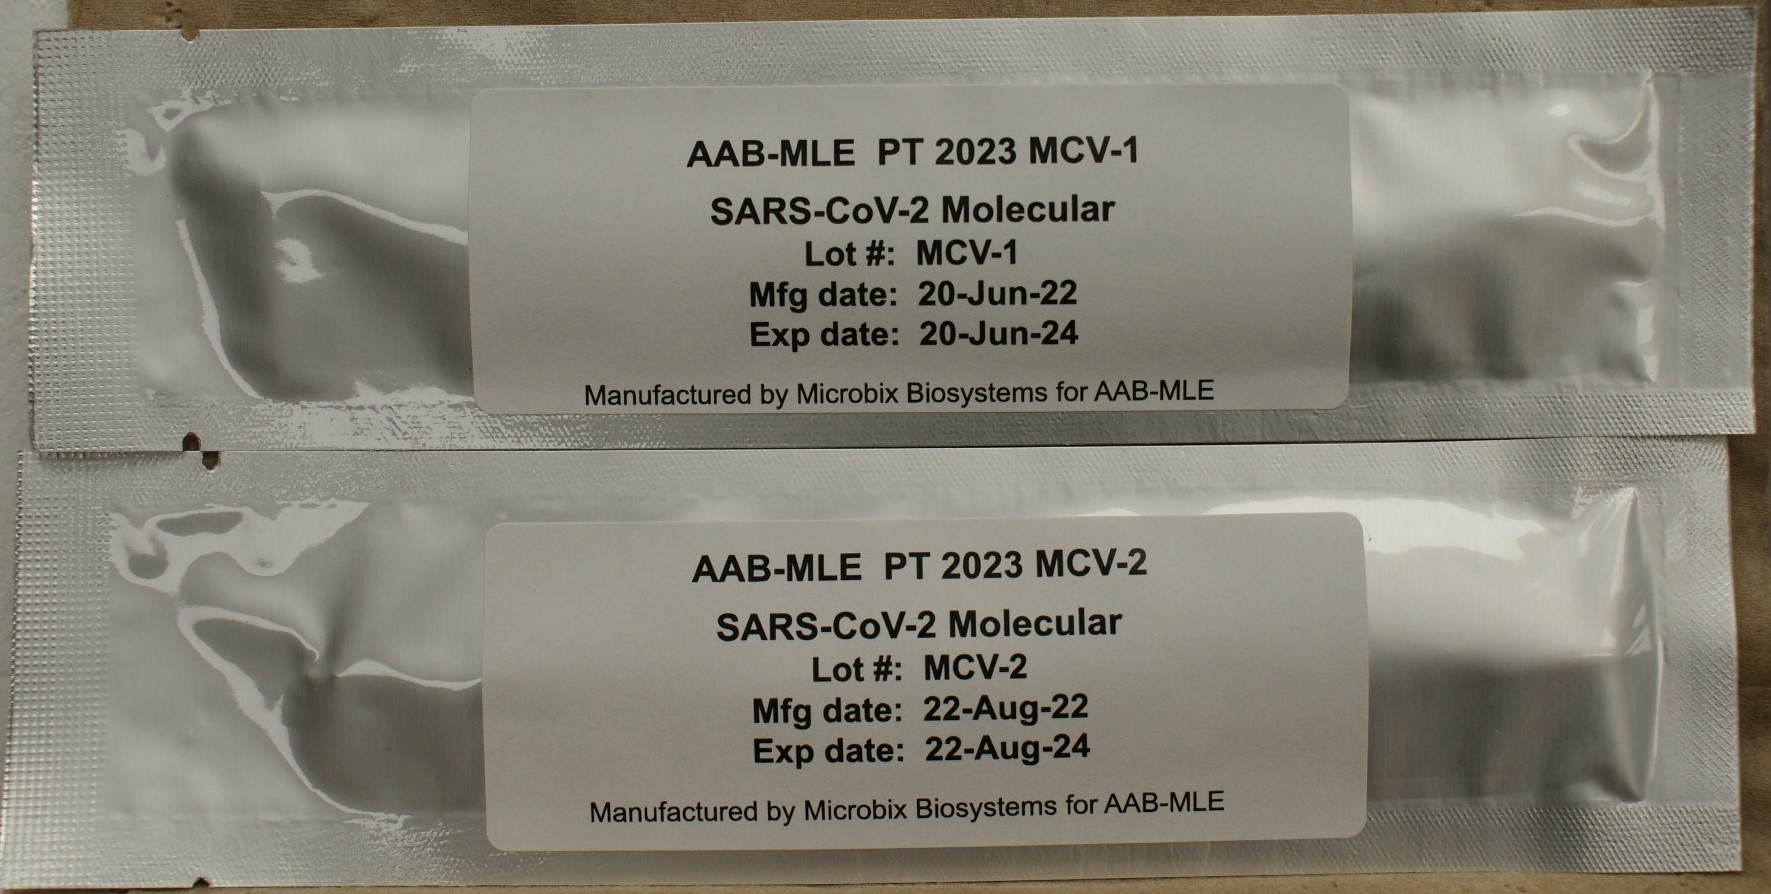
Instructions: MCV Specimens
(689 SARS-CoV-2 Molecular Detection/698 SARS-CoV-2 Molecular Detection 5 Samples )
CAUTION: Etiologic agents that may be present in these specimens have been treated to render them non-infectious. However, because no
method can offer complete assurance that all organisms are non-viable, handle specimens as if capable of transmitting disease.
Dispose of the specimens in the same manner as patient samples.
1. Remove specimens from the refrigerator and allow them to come to room temperature (20-25°C).
2. Insert the swabs into the appropriate 0.5-3.0 mL transport media tubes provided by your testing kit manufacturer as you would a patient sample.
3. If your transport tube contains liquid: Elute the desiccated material from the specimen swab into the liquid by swirling the swab from side to side and up and down.
Cap the tube if possible and allow the swabs to remain in the liquid for about 1 minute. Proceed with step 4 after the incubation.
If your transport tube does not contain liquid: You must first add the appropriate extraction reagent provided by your kit manufacturer before
attempting to proceed with testing. You may substitute distilled water. Once the extraction reagent or distilled water has been added, you may swirl
the swab from side to side and up and down to dissolve the desiccated material. Cap the tube if possible and allow the swabs to remain in the liquid
for about 1 minute. Proceed with step 4 after the incubation.
4. Mix vigorously for 10-15 seconds and express liquid from the swab before discarding. Process each specimen as you would a patient specimen.
Follow your manufacturer’s recommended procedure.